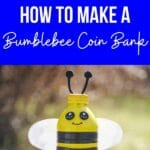
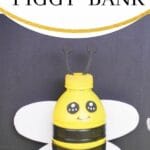
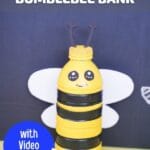
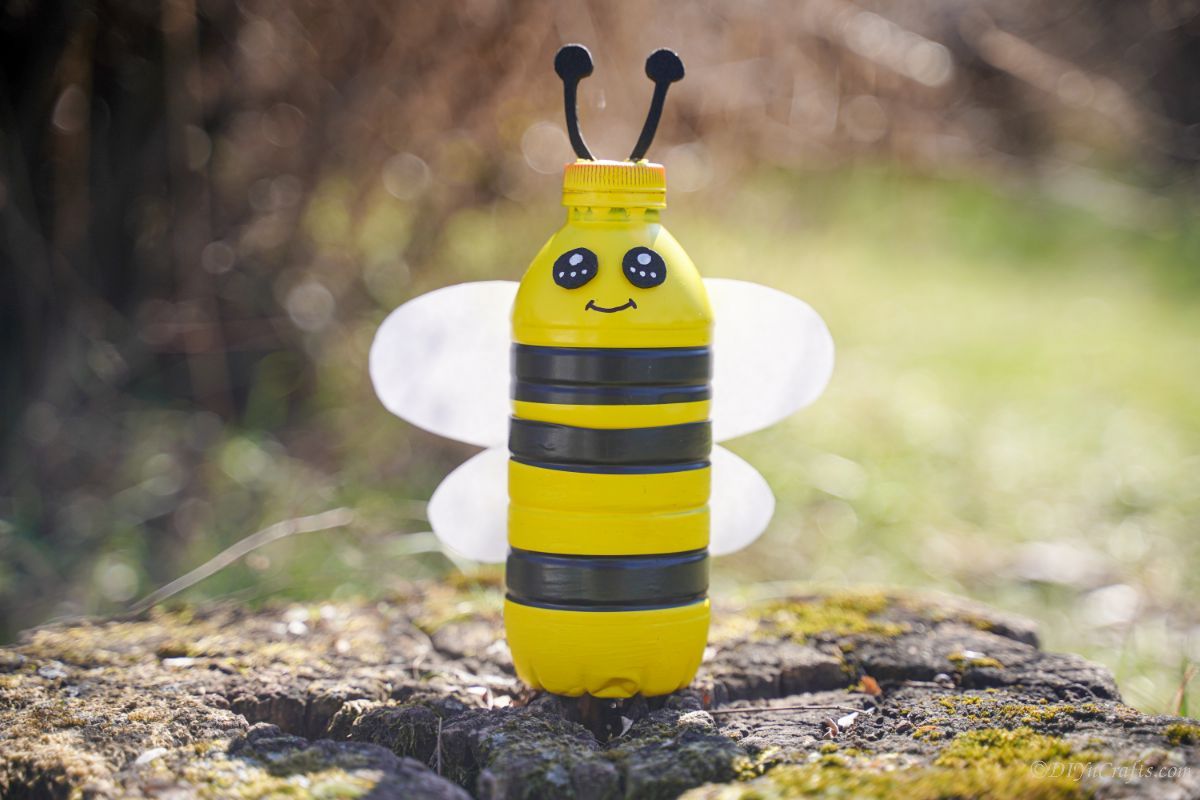
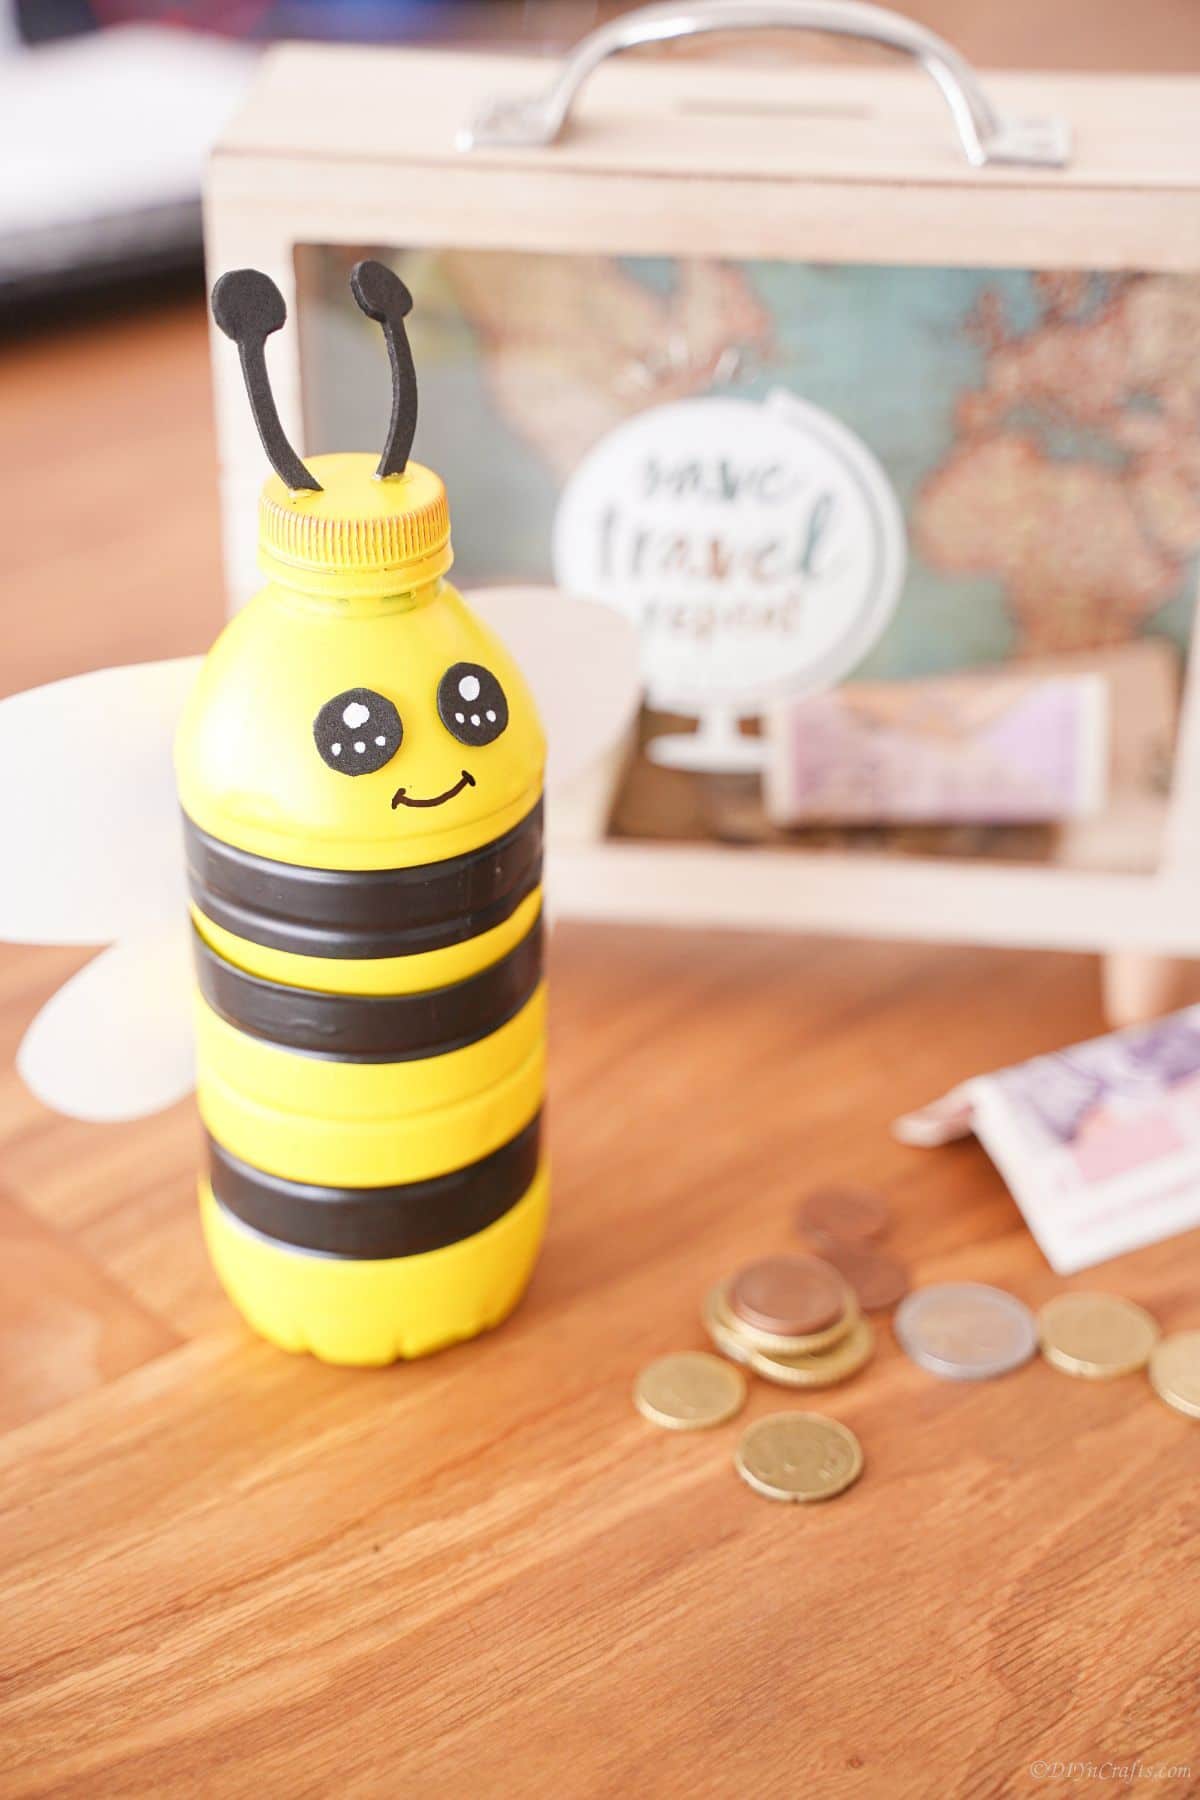
Looking for an eco-friendly and fun crafting project? Check out this precious plastic bottle bumblebee bank! It’s the perfect alternative to a “piggy bank” for kids and is something they will love helping you customize. This bumblebee is made from a recycled plastic bottle, making it a great way to upcycle those old bottles taking up space in your recycling bin. And what’s more fun than a bumblebee?
Plastic Bottle Bumblebee
I love making things from plastic bottles and this is another fantastic upcycled plastic bottle craft that turns a basic bottle into a coin bank for kids, and a cute little bumblebee decoration! It is so simple to make and its a great craft for adults and kids.
Whether you want to make it as a gift for your child or you want to use it for a fun weekend craft to keep them busy, this is a super easy project that uses items you already have on hand to create something new. Another perfect trash to treasure craft, you are sure to love the results and kids will be encouraged to save their money in the process. I call that a win-win!
If you like bees and want more bee-themed crafts for your home, check out these tin can bumblebee garden stakes, or this adorable hanging bee garden decoration! Of course, kids might prefer making this upcycled flower pot bee hive or this simple craft stick bee instead.
What’s the Best Way to Remove Labels from Empty Water Bottles?
One annoying thing about reusing water bottles or similar are the labels and sticky glue. To remove labels from empty water bottles, you can start by simply tearing or cutting the paper off the middle of the bottle. If there is residual paper or glue still on the bottle, I follow a simple process to remove and make them ready to use in crafting.
- Soak the plastic water bottle in hot water first. Sometimes that is all you need to remove the stickiness of the label residue. You can add a drop or two of Dawn dishwashing liquid to help make the process a bit faster.
- If the bottle has a printed label, a bit of rubbing alcohol or nail polish remover is a good alternative for removing the ink.
- For bottles with glue that won’t come off, a commercial product such as Goo Gone is ideal for soaking the sticky residue and then washing it off. It can be found in most hardware stores or big-box stores such as Walmart or Target.
Similar Projects: How To Make a Framed Jeans Pocket Organizer
This usually will result in a fresh clean bottle with no remnants of labels or printing. Now you just get to dry it off and start crafting!
What Can I Use to Make the Bumblebee Stripes?
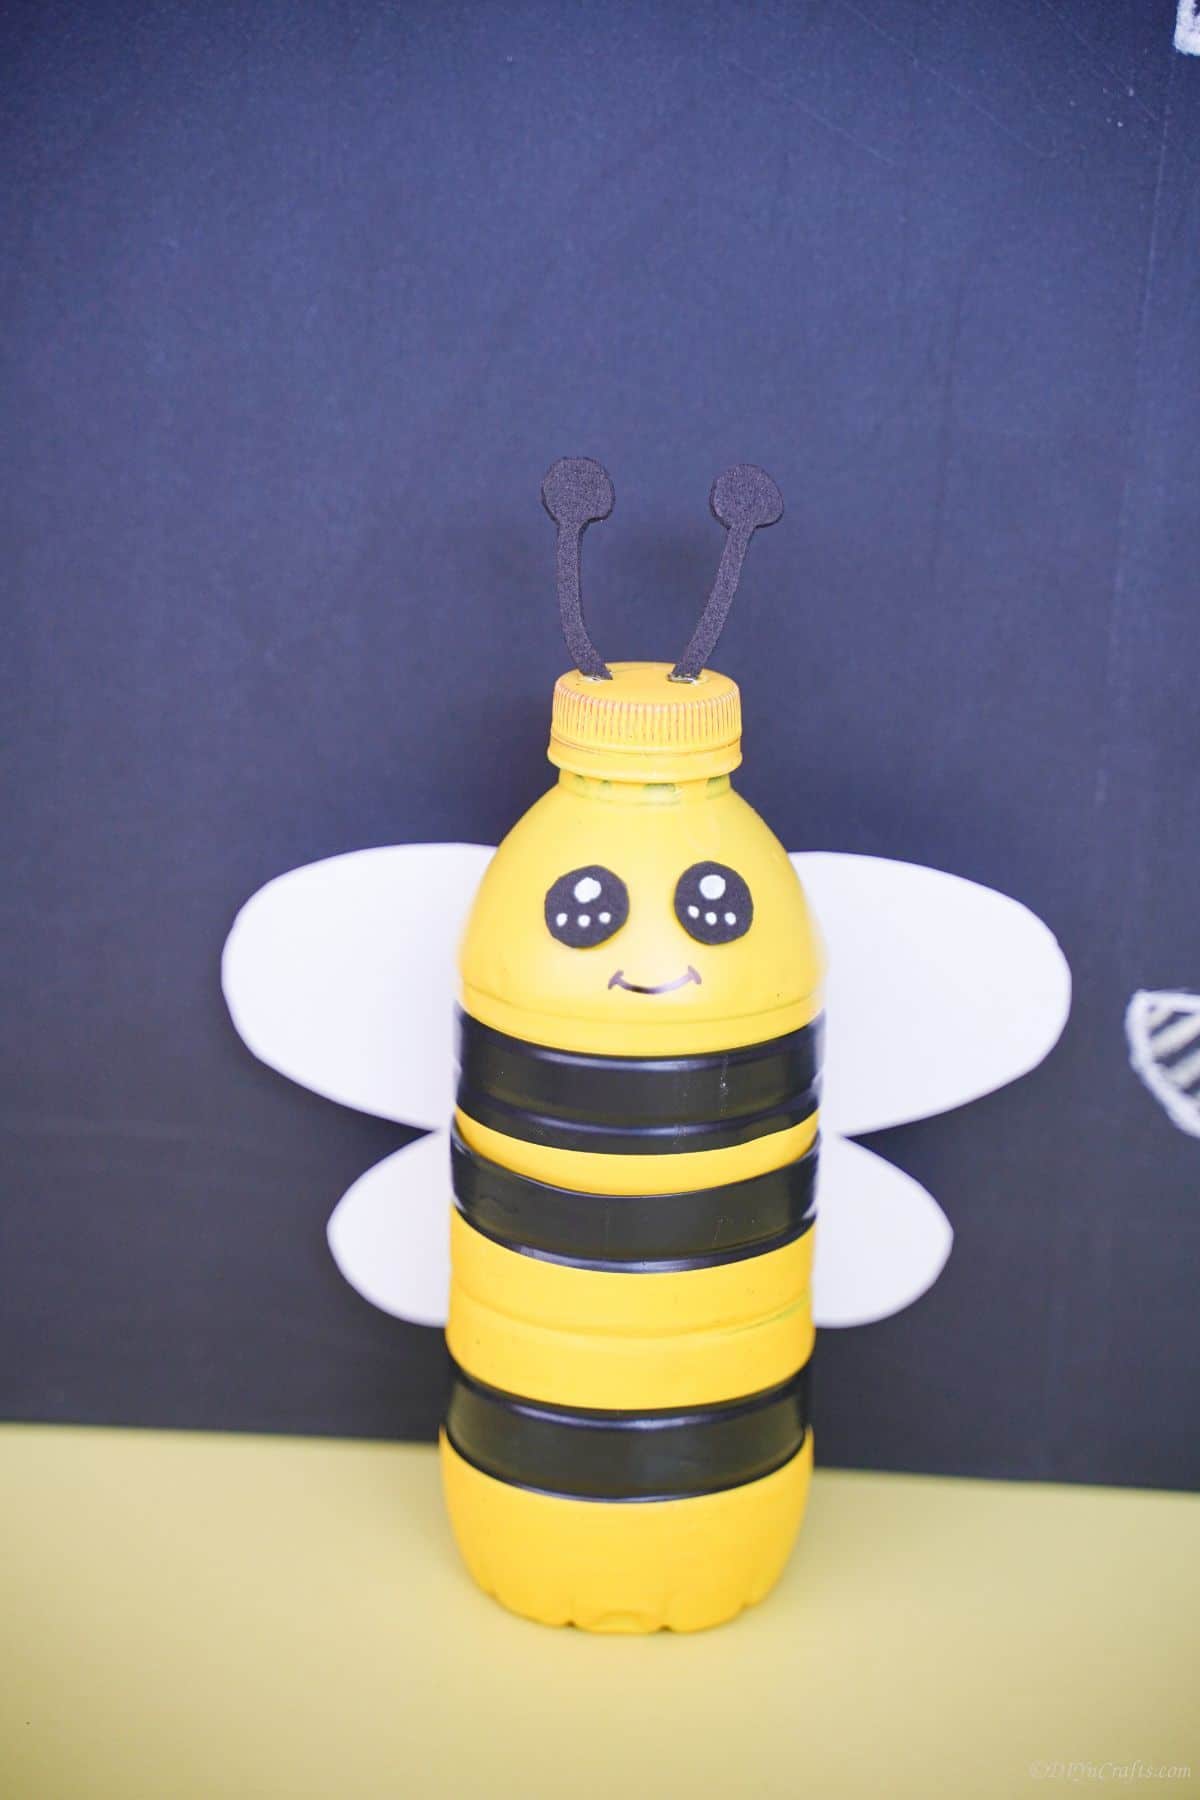
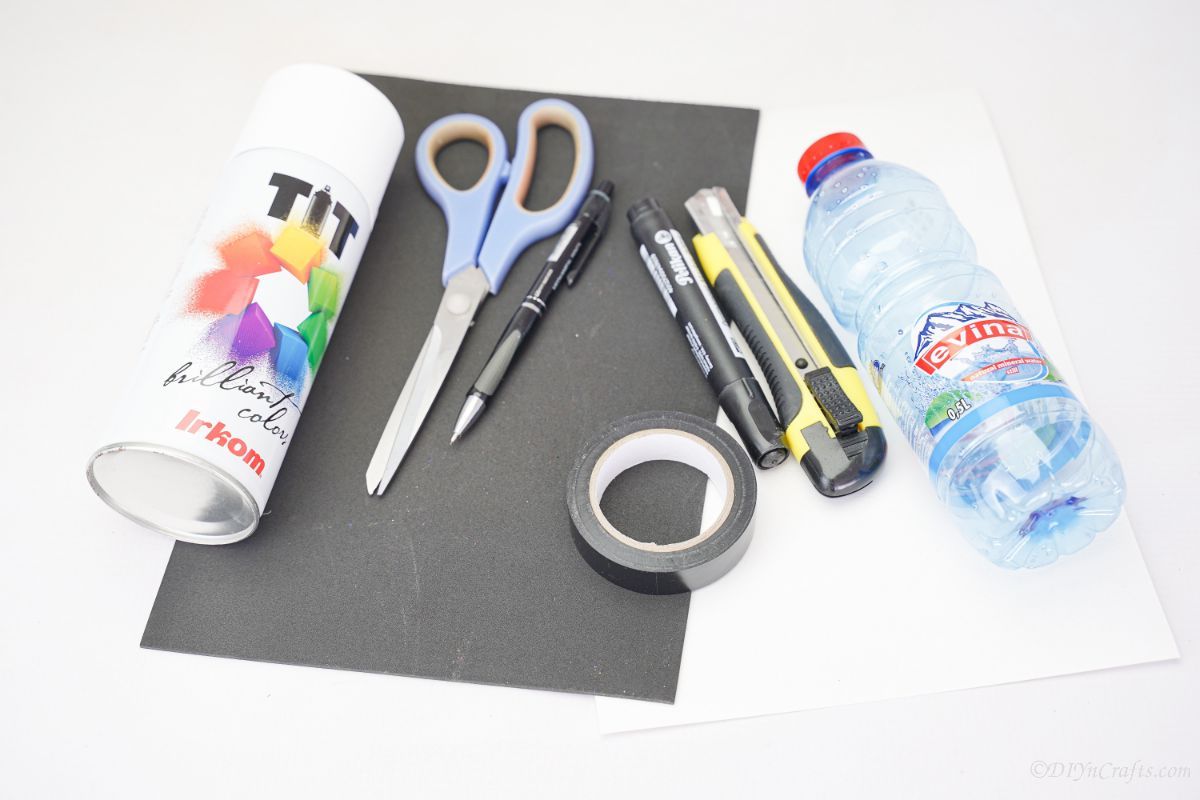
For this project, I used some basic black electrical tape I already had on hand. It works great, is practically free, and is super easy for kids to work with if they are helping make the bee.
Other options you can use include basic craft paint, fabric paint, a paint pen, or just a permanent marker such as a Sharpie. All of these may already be in your craft box so free to use If not, you can choose which works best for you and put it to the test on your bee.
Of course, you can also use washi tape, painter’s tape, or even cut out strips of craft paper or foam paper and glue them into place as the stripes. Whatever you choose, just make sure the stripes of black are clear and distinct from the yellow on the bottle.
What Ways Can I Customize My Bumblebee?
I love being able to customize a project. It is fun to follow the basic directions but I want to make it mine. Ideas for customizing this adorable plastic bottle bumblebee are :
- Paint the entire bee black and add yellow stripes with a permanent marker
- Tie a piece of black ribbon or string around the neck for the bee’s body
- Use a black Sharpie to draw on some eyes instead of using felt or foam paper.
- Add wings made from pipe cleaners, construction paper or even feathers. Tissue paper is another idea that works well.
- Spray the wings with glitter spray so they sparkle like a real bee would in the sunlight.
- Add a bow or hat on top of the lid to give the bee a bit more personality.
- Glue on pipe cleaner arms and legs on the sides of the bottle.
What Can I Use this Plastic Bottle Bumblebee For?
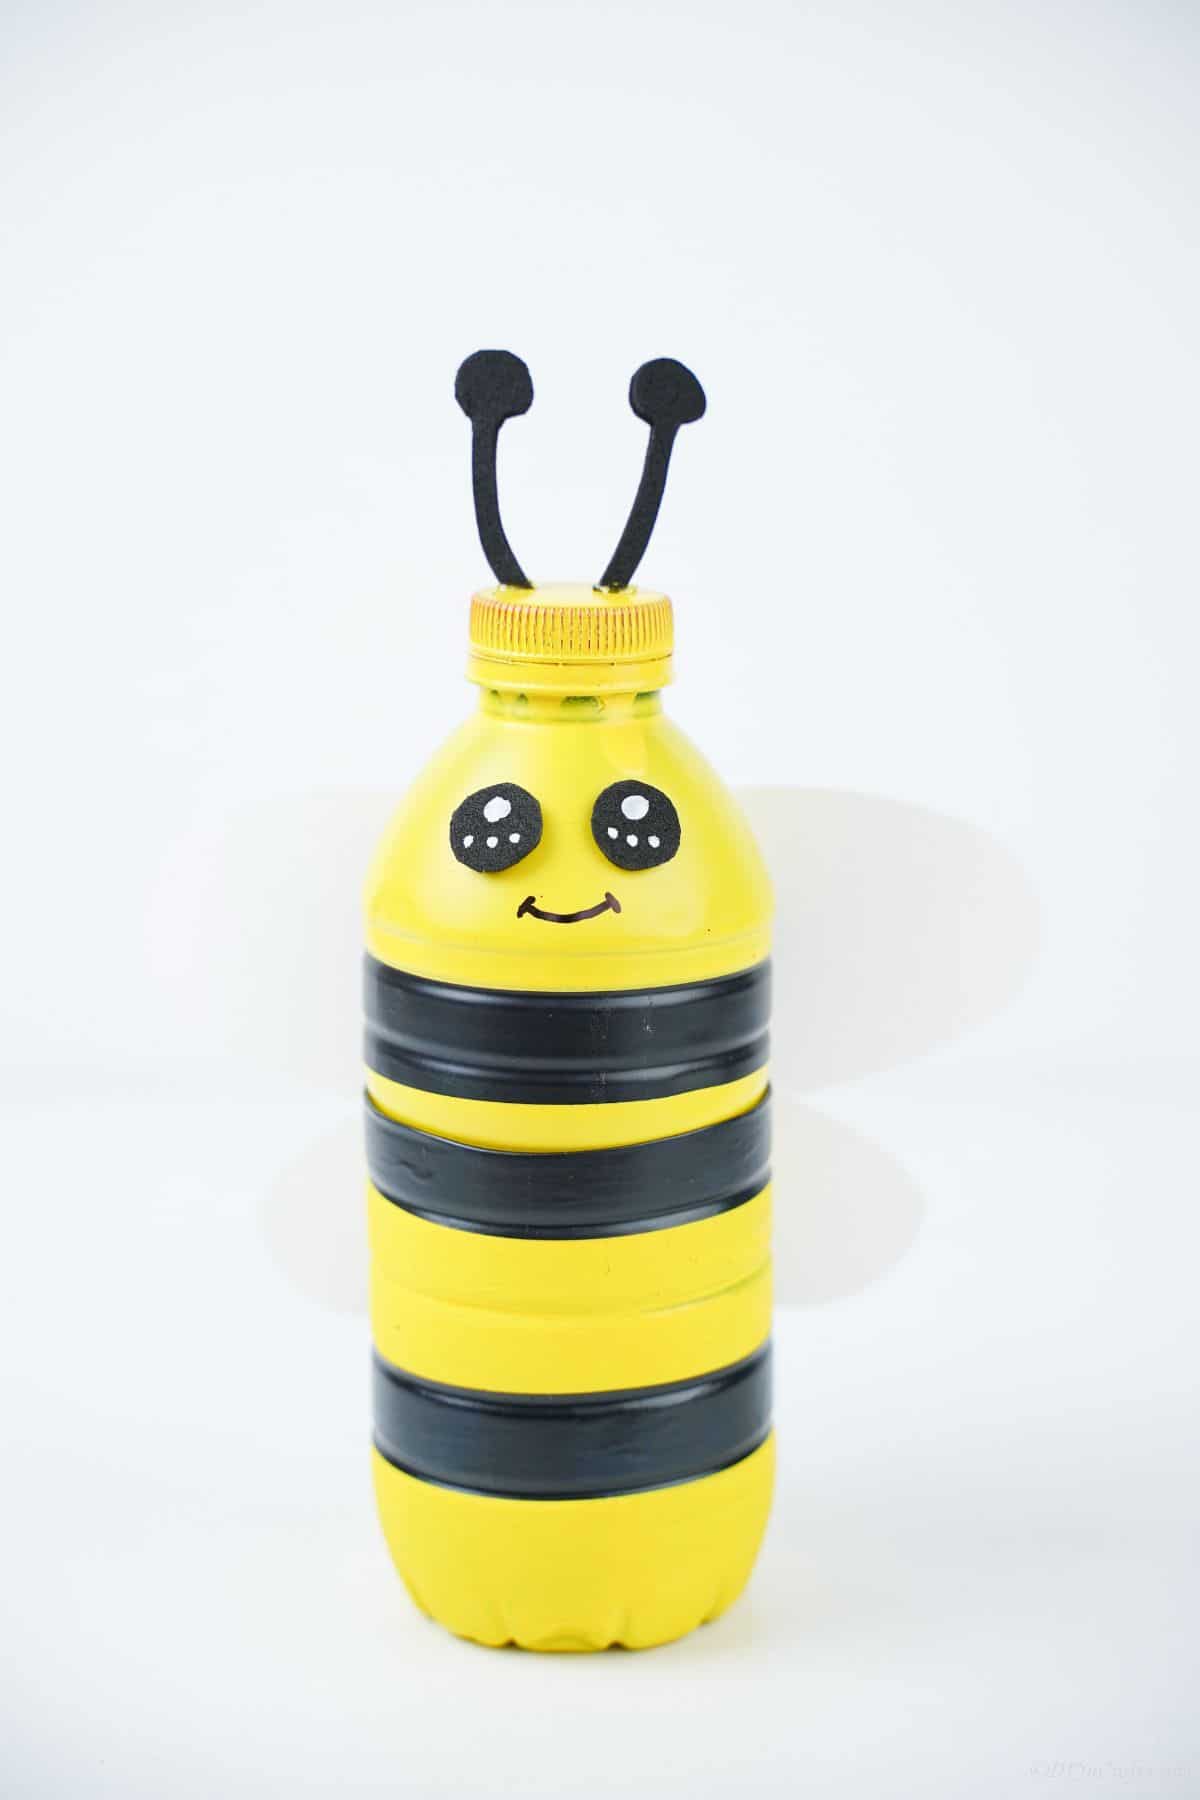
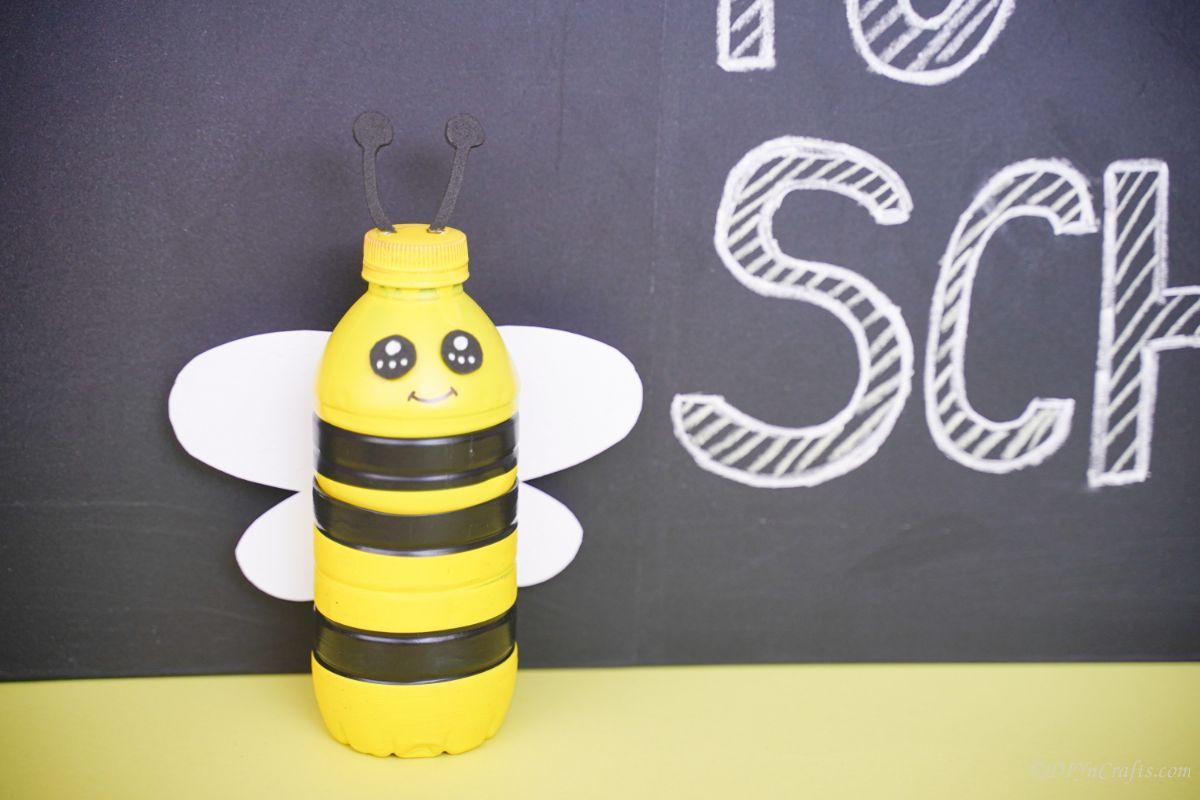
While it is designed initially to be a “piggy bank”, it can be used for all sorts of things around the house. Below are some of my favorite ideas that work great for this if you don’t want to use them for storing changes.
- Use as table decor for events like parties or baby showers that have a bee theme. It could even work as a decoration for a summer wedding!
- Add some rice or beans inside the bottle and use them as a paperweight on your desk at work.
- Tie a string around the neck and hang it from the porch railing or in your garden as a decoration.
- Hang with fishing line from a child’s bedroom ceiling or above a crib in the nursery as part of a mobile.
- Rather than cutting the bottle in half, cut a hole in the center “belly” of the bee and fill it with bird seed for smaller birds to eat.
Similar Projects: 5 Easy Easter Crafts For Kids In Under 5 Minutes
The options are endless on what you can do with this plastic bottle bumblebee.
Supplies Needed
How to Make a Bumblebee “Piggy Bank”
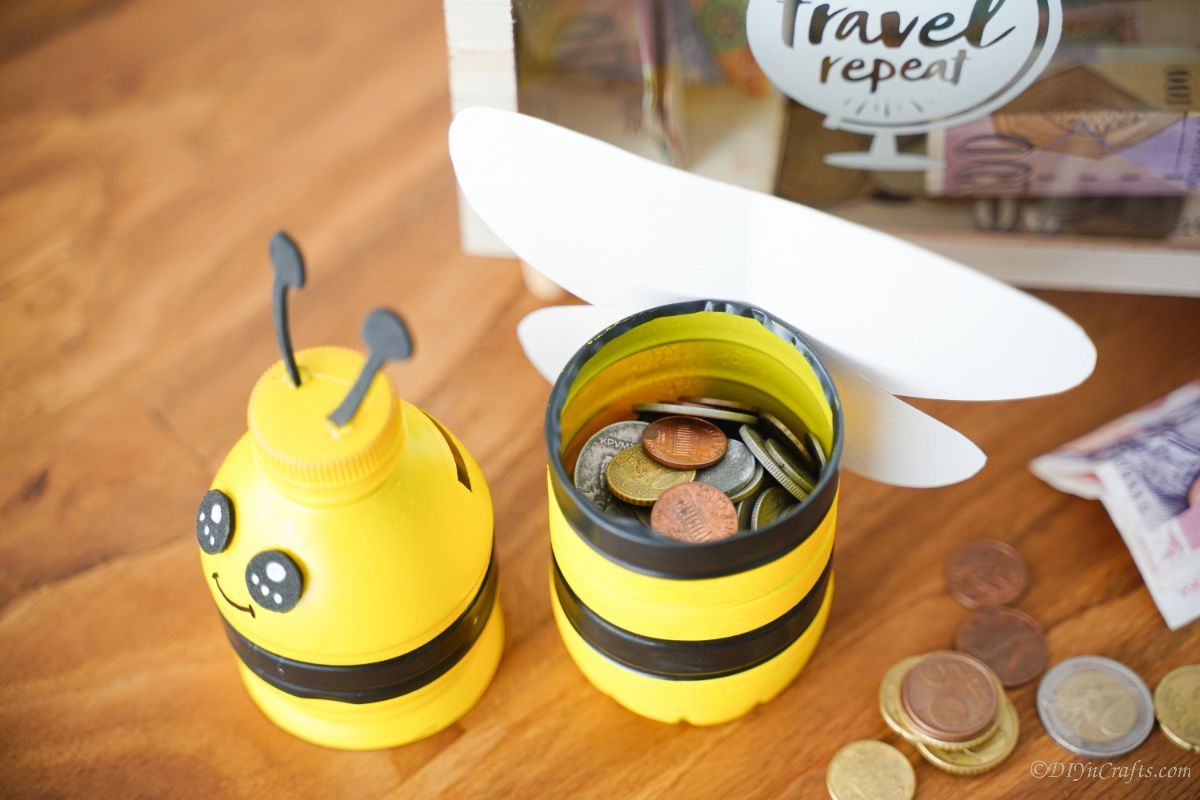
Remove any labels or ink from the bottle and clean then dry it. To begin, you will cut the empty bottle in half in the middle.
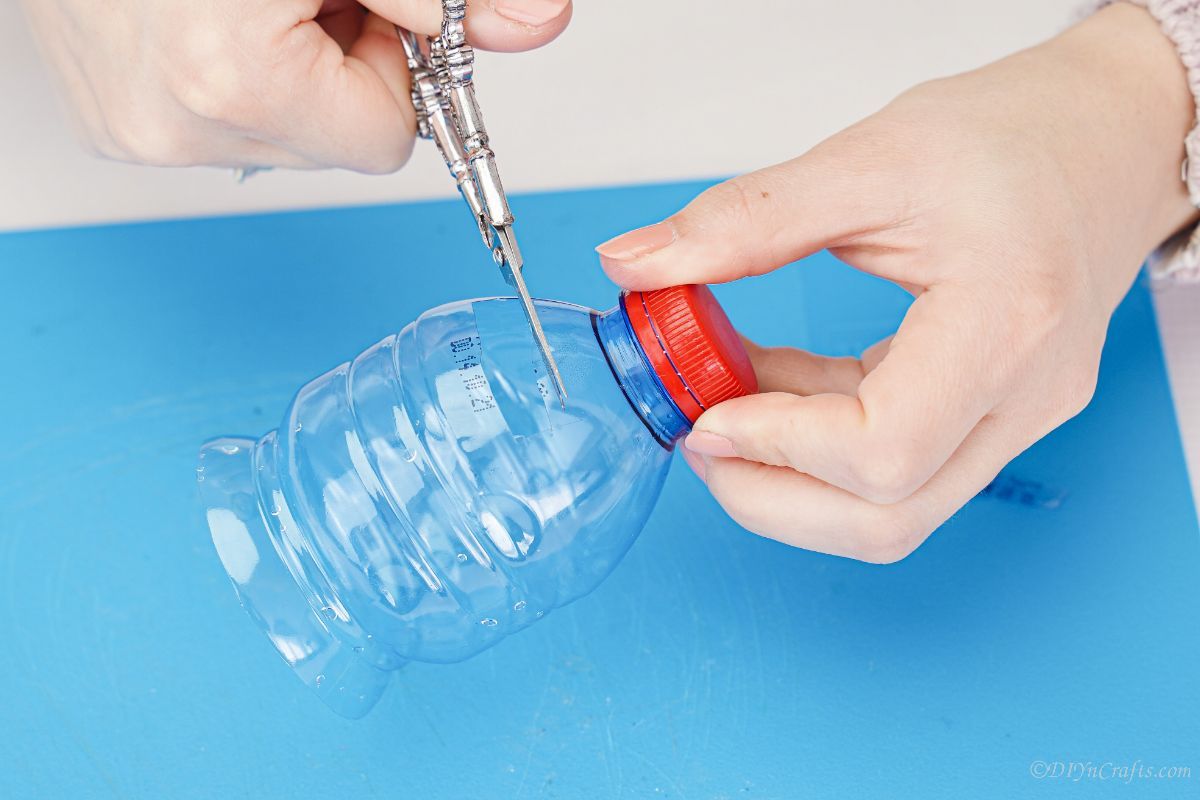
Now, on the piece with the lid, cut a small hole on one side, just below the neck, that is around 1″ long and 1/4″ wide. This is the opening for your “bank” or to slide money through.
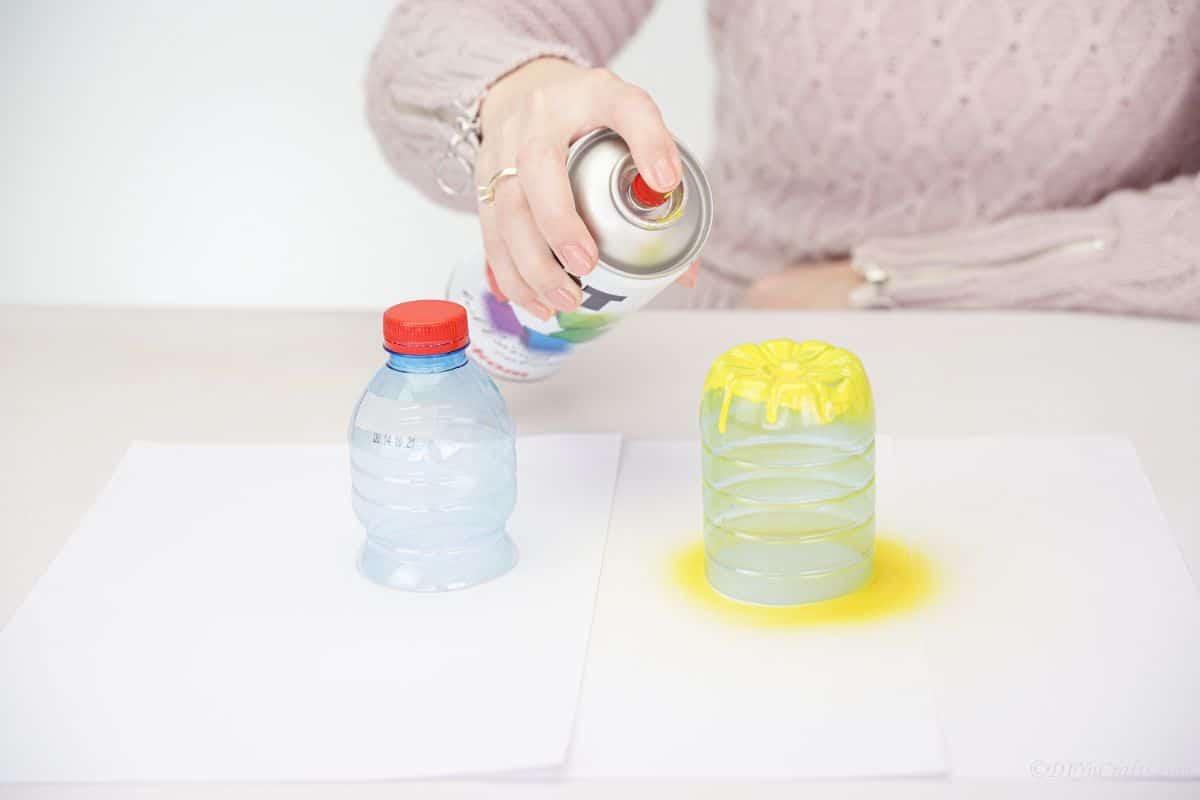
Set the two halves of the bottle on paper and spray paint them yellow then set them aside to dry.
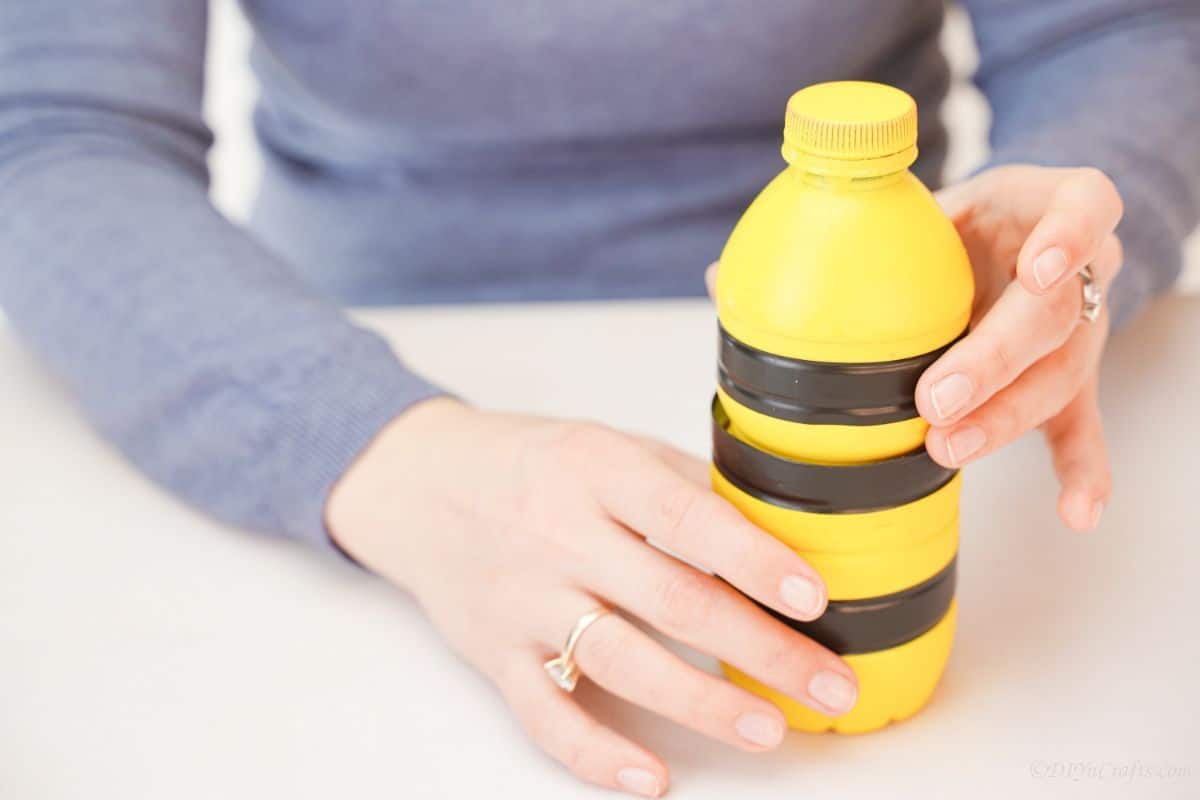
When your bottle pieces are completely dry, it’s time to create the bee look. Start, by wrapping the black tape around the base of the bottom half of the bottle. I added this strip of tape just above where the base begins to curve downward into “legs”.
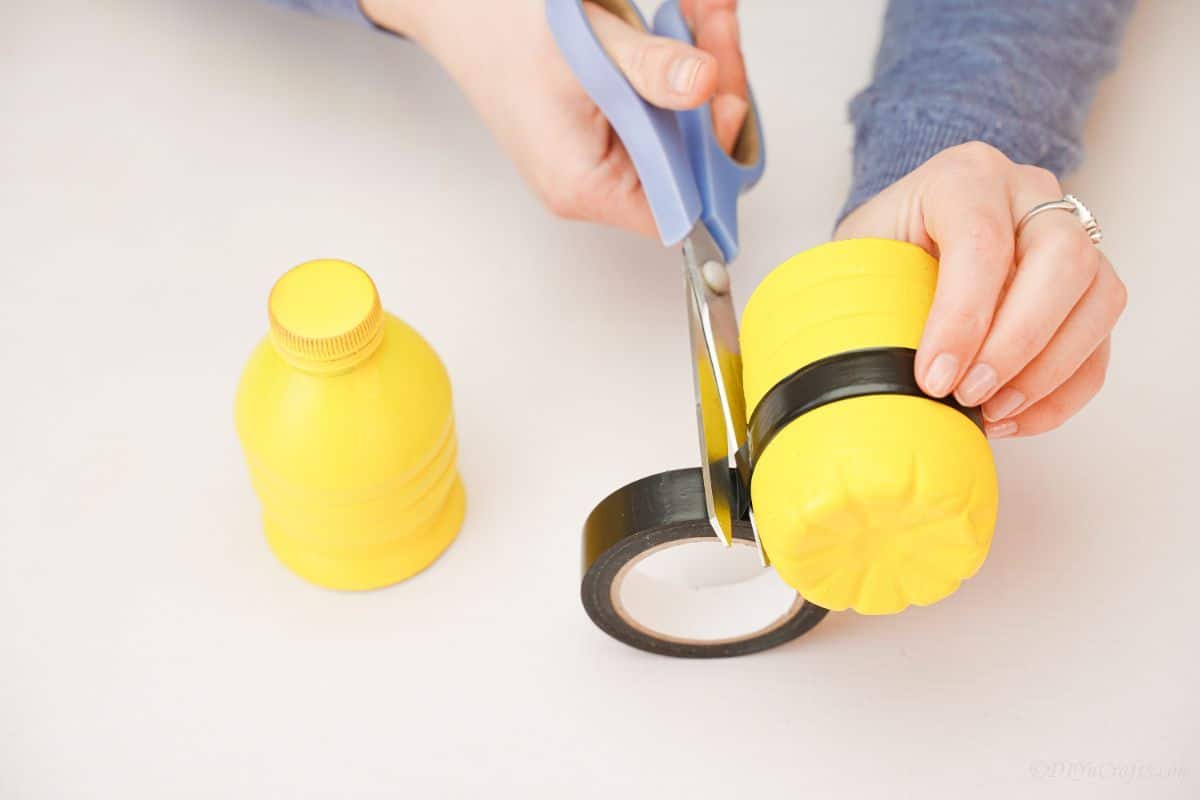
Now, on that same bottle half, wrap the tape around the top edge where it was cut. You can wrap it just up against the edge, or slightly over and fold it down to smooth off that cut edge.
Similar Projects: Decorative Clothespin Tin Can Planter or Organizer
Then, on the top half of the bottle, add a strip of the black tape around halfway down from the lid.
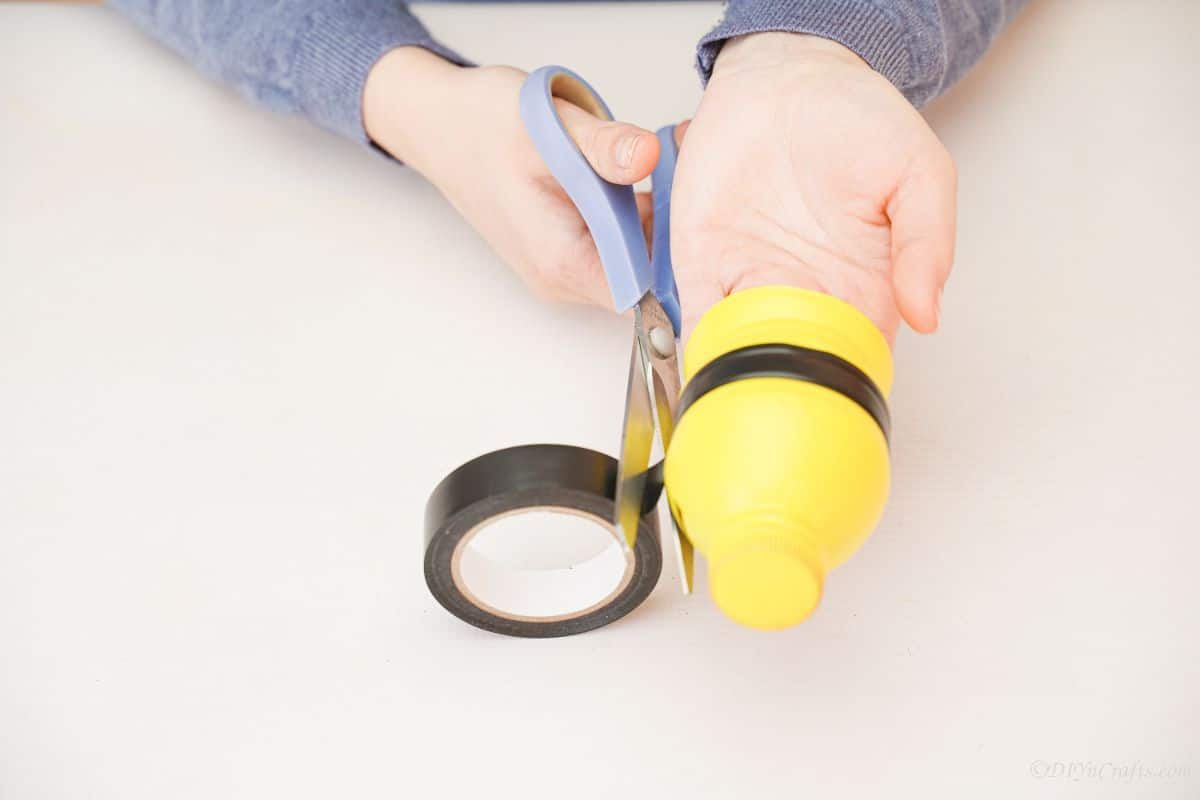
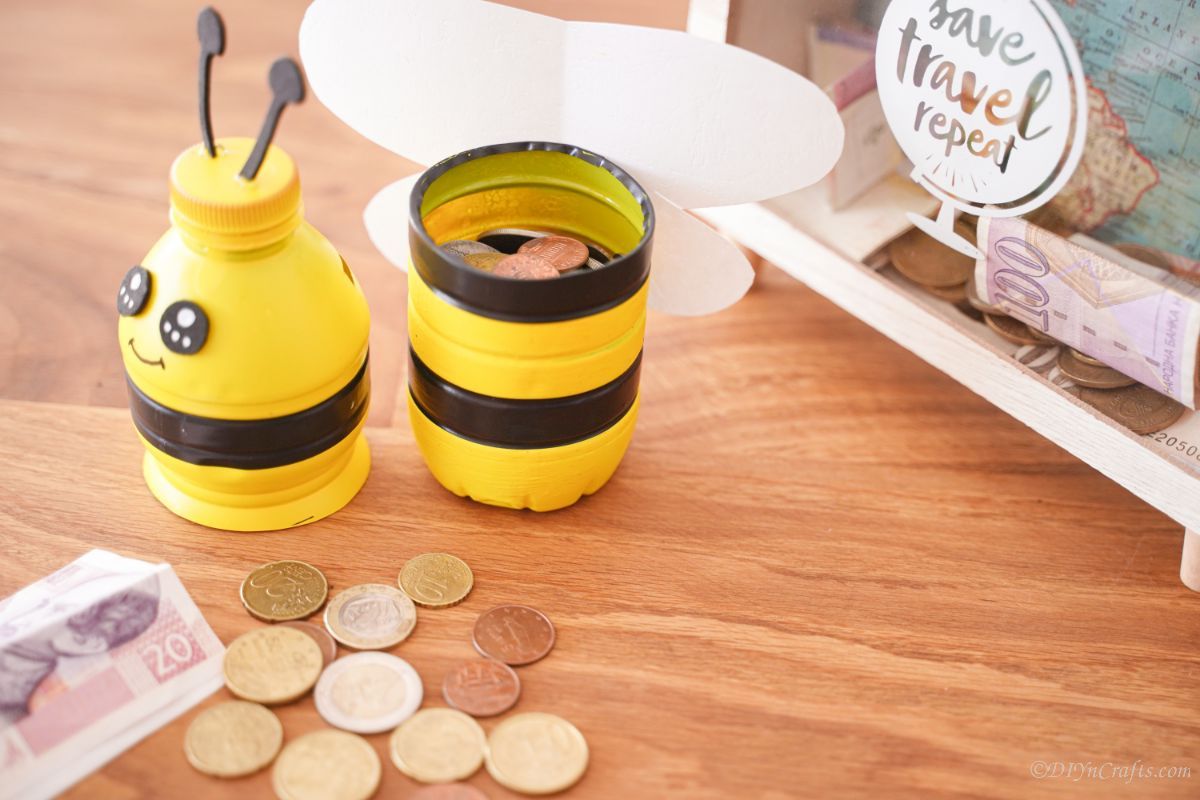
Once this is done, you can then set the top of the bottle over the bottom of the bottle. Since these are fairly flimsy bottles, they should slide over the base easily and notch inside.
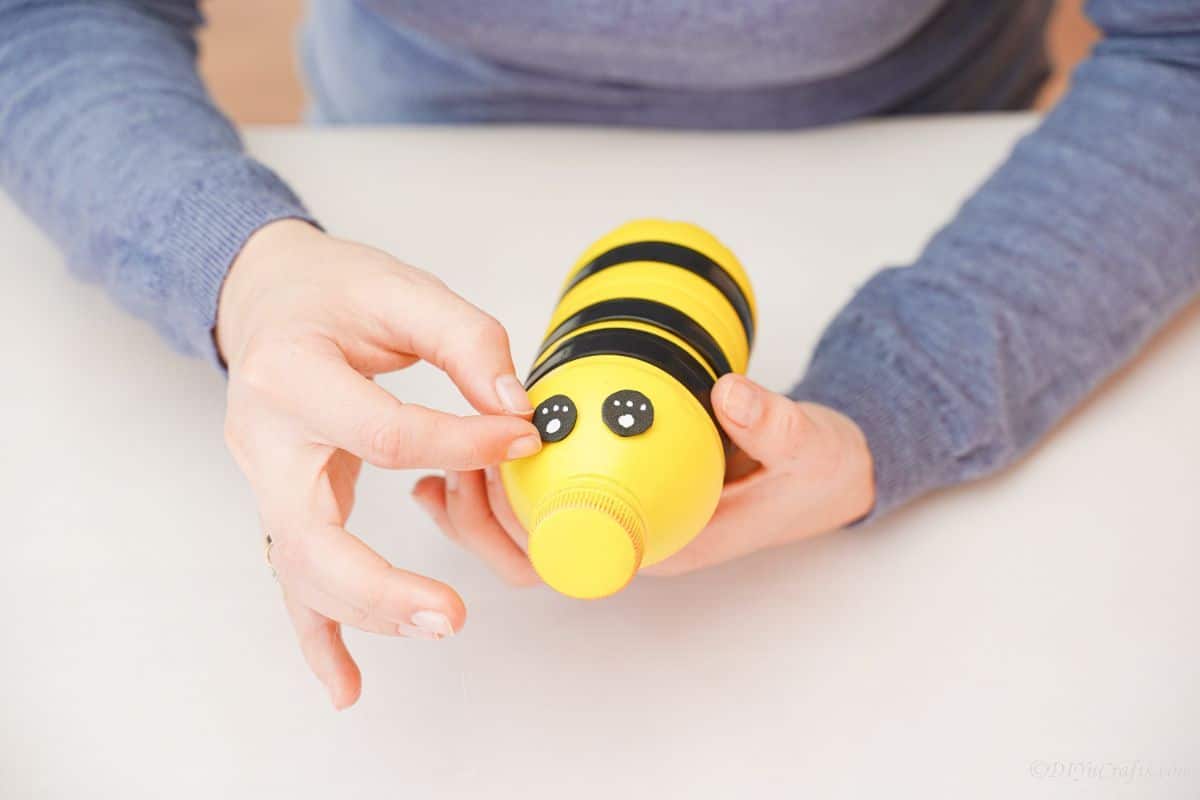
Now, use black foam or felt, and cut out two circles for the eyes.
Then, use a white paint pen to create a large dot on one upper side of the circles.
Then add three small dots on the opposite bottom side of the eyes.
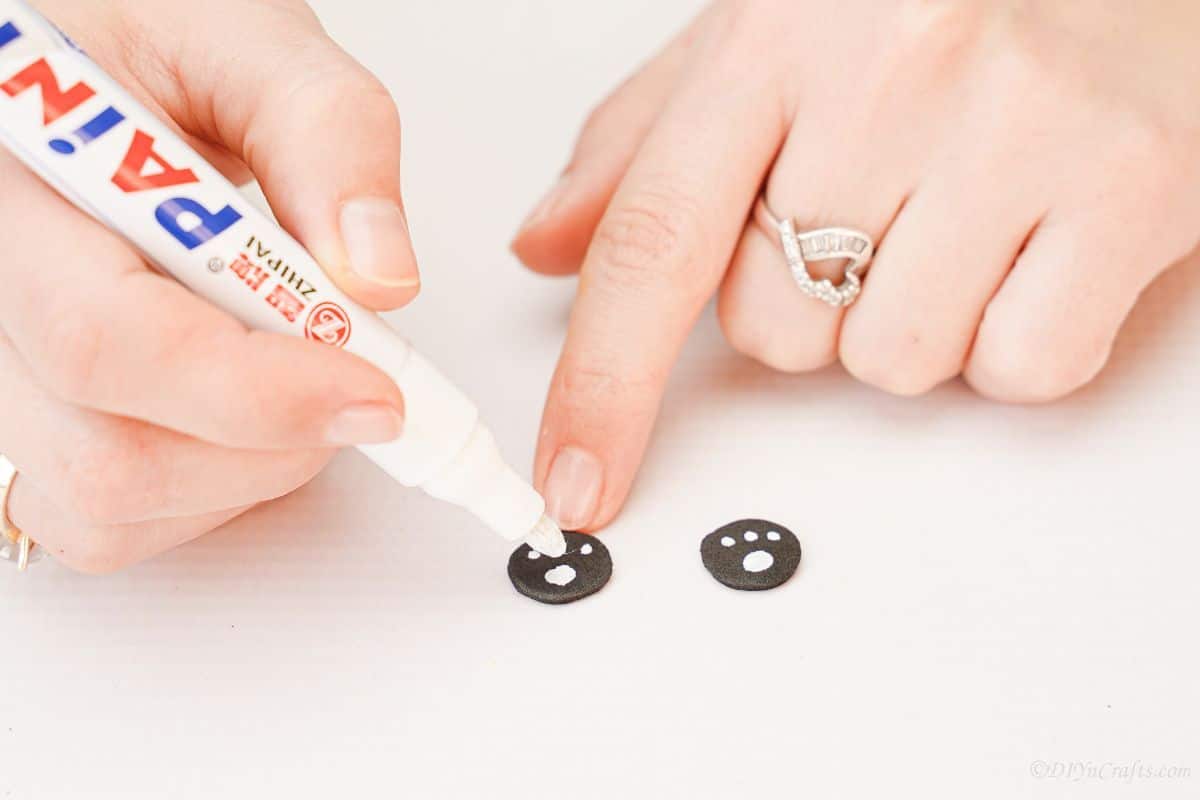
These gluten to the bottle, just below where the neck begins to curve up to the lid. When doing so, make sure the side with the three small dots is facing the bottom of the bottle.
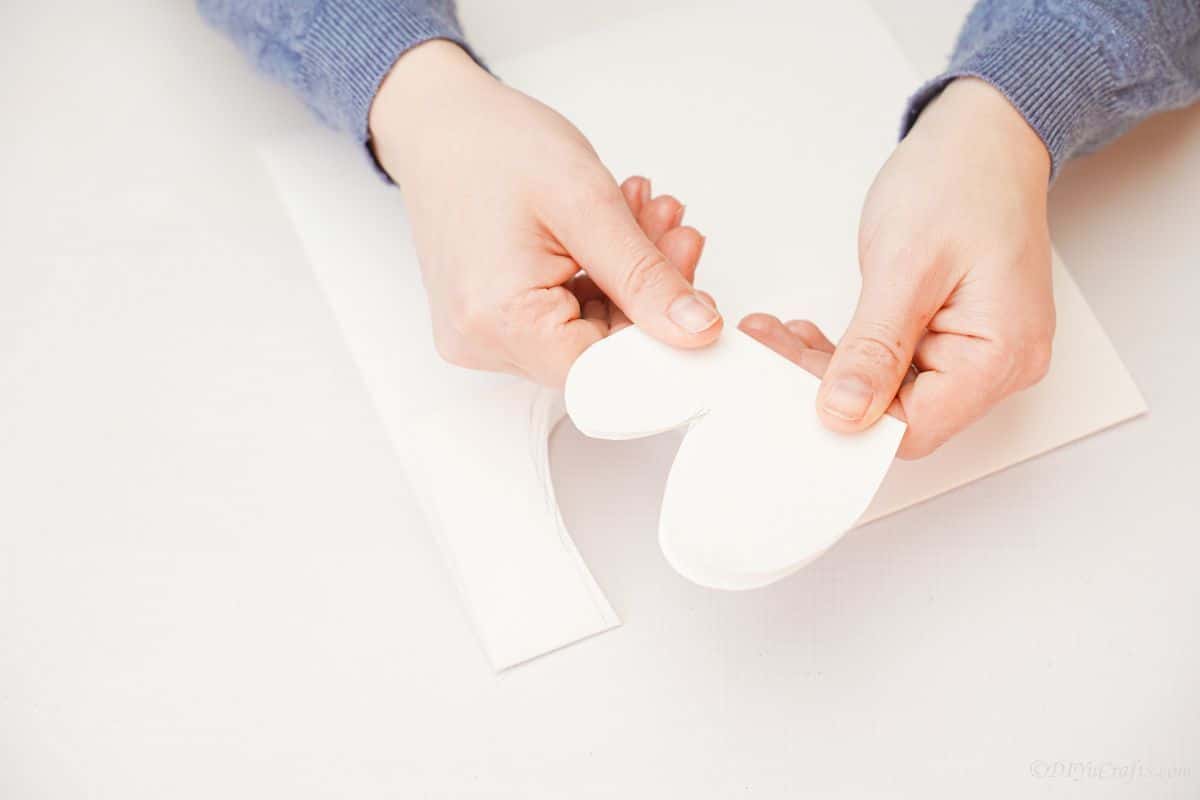
Now, fold a piece of white paper or felt in half. Trace along the side of the paper a wing shape. I use the “m” shape, making one of the sides slightly smaller than the other. You want your wings to be about half the height of the bottle and about 2″ wider on both sides of the bottle.
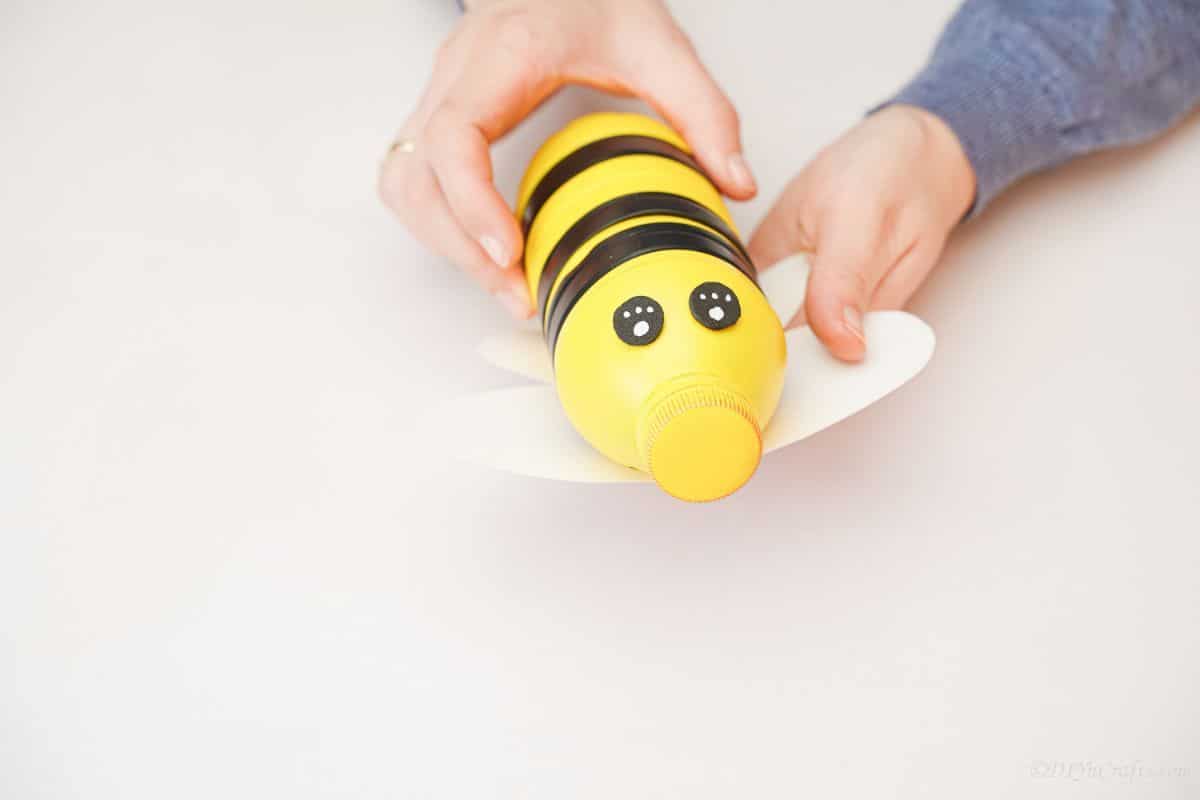
Cut this out and glue it to the back of the bottle with the smaller wing side facing the top.
Similar Projects: How to Make an Easter Bunny Out of an Old Book
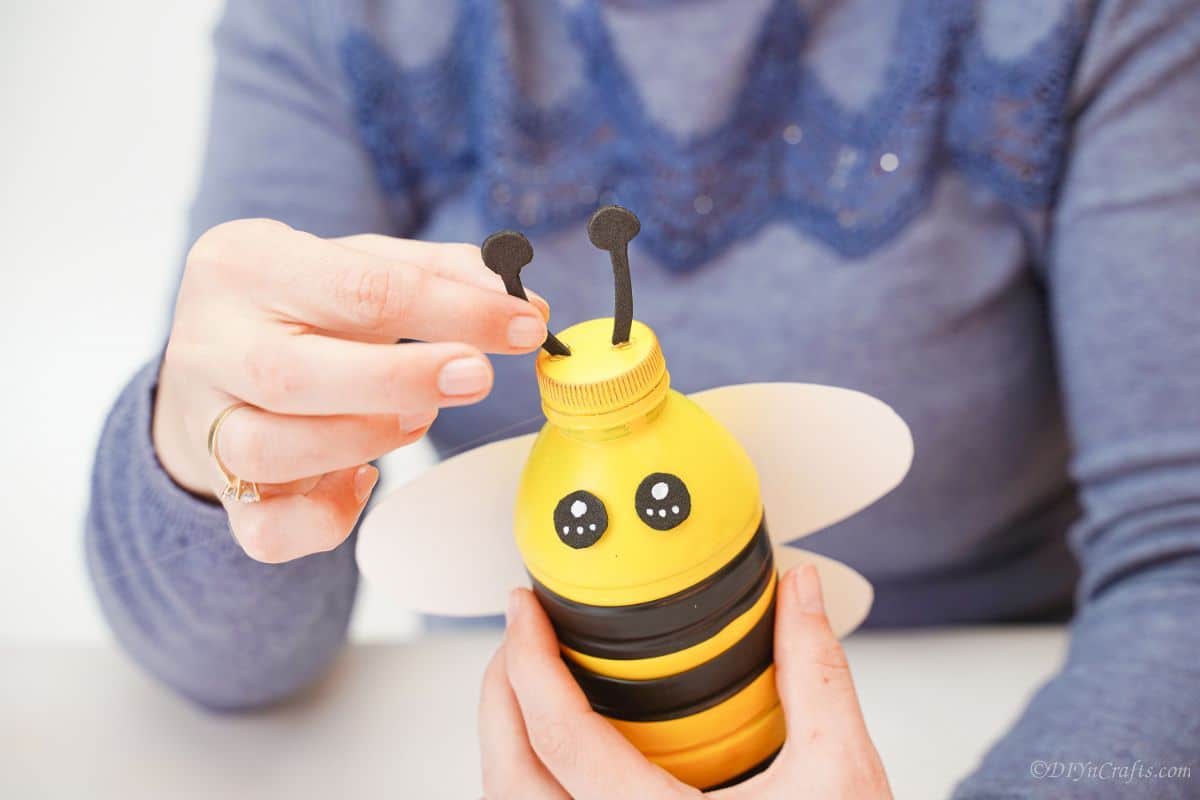
Now, on black foam paper or craft paper, draw two antenna shapes and cut them out.
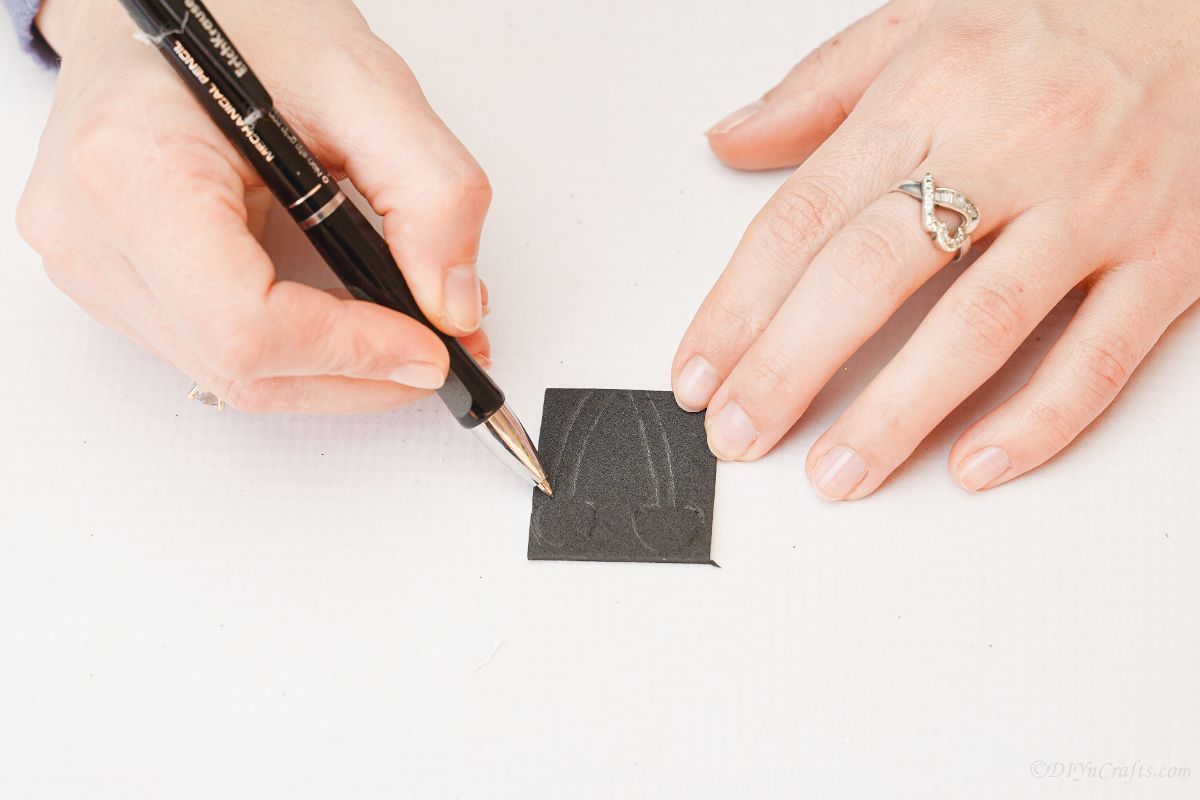
Glue these to the top lid on the bottle.
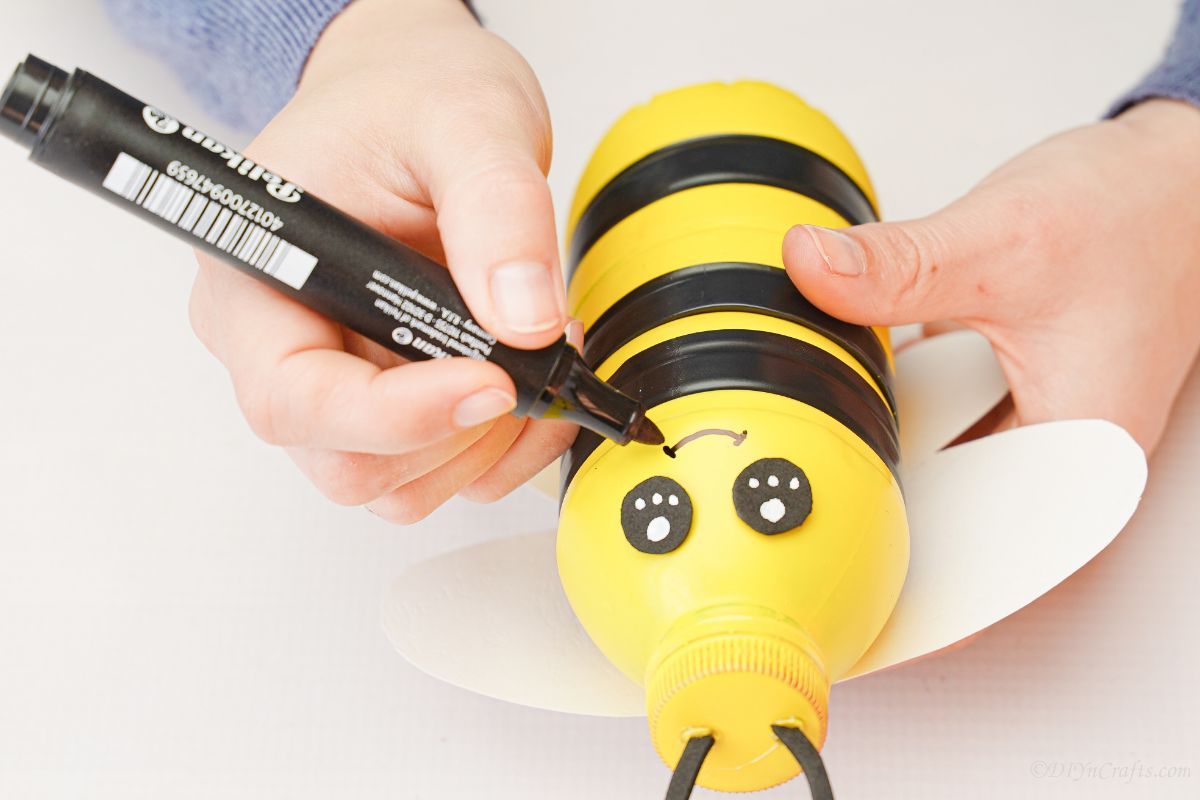
If desired, use a marker to make a small smile below the eyes on the bottle.
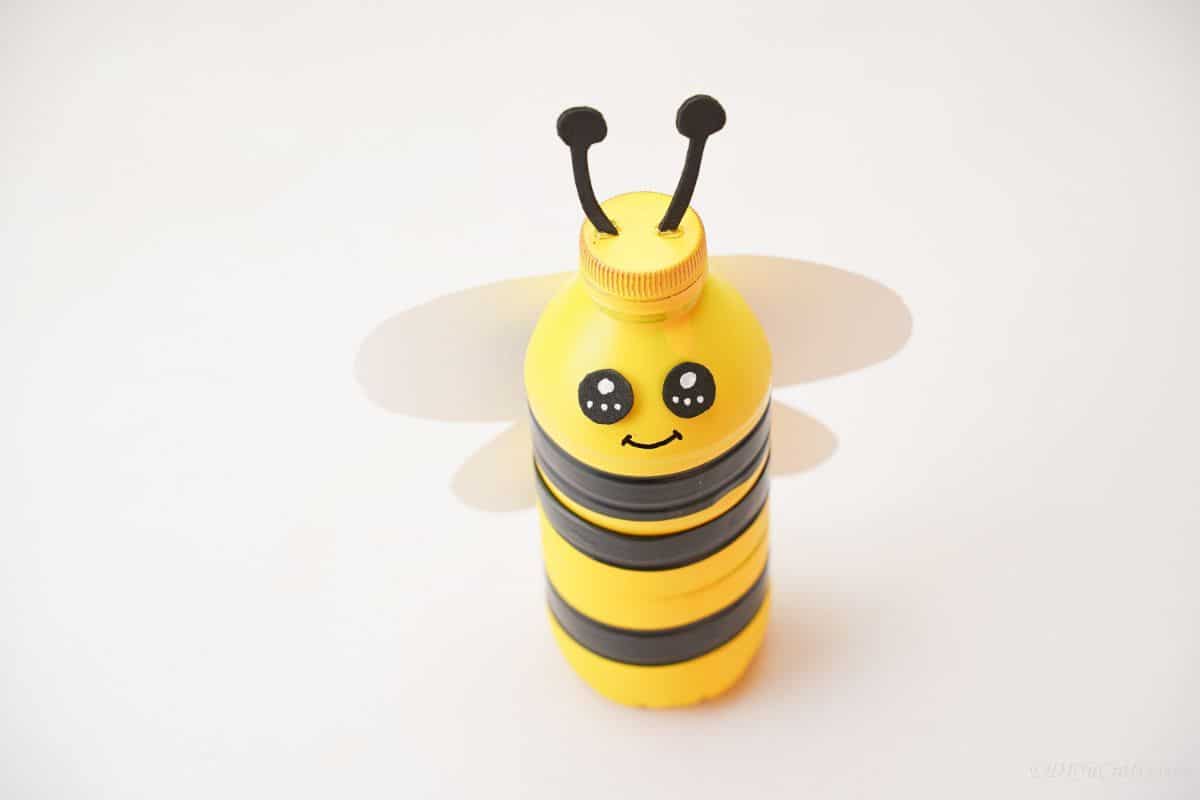
Now your bee is ready to use to hold money!
More Easy Plastic Bottle Crafts
If you find you have a lot of empty water bottles or soda bottles and don’t want to take them all to the recycling bin, then take a few minutes and browse some of our other popular craft ideas for plastic bottles. Check these out then bookmark them, print them out, or pin them to a Pinterest craft board to make soon!
Yield: 1
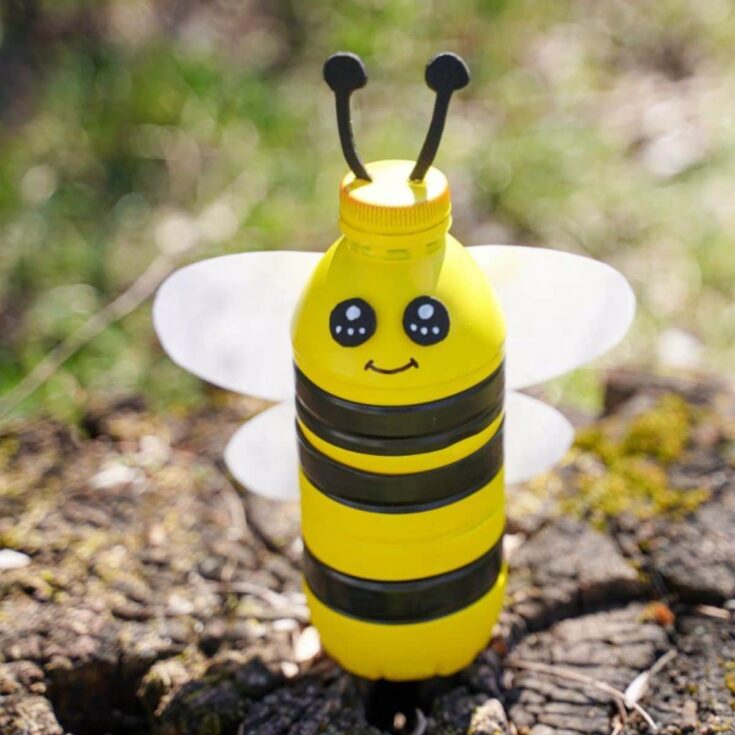
Turn an empty plastic bottle into an adorable bumblebee bank for kids to store change! A super easy upcycling craft for kids!
Active Time
15 minutes
Additional Time
30 minutes
Total Time
45 minutes
Difficulty
Easy
Estimated Cost
$0
Materials
Similar Projects: 20 Brilliant Repurposing Ideas and Projects For Broken China And Other Glass
Instructions
- Cut an empty bottle in half.
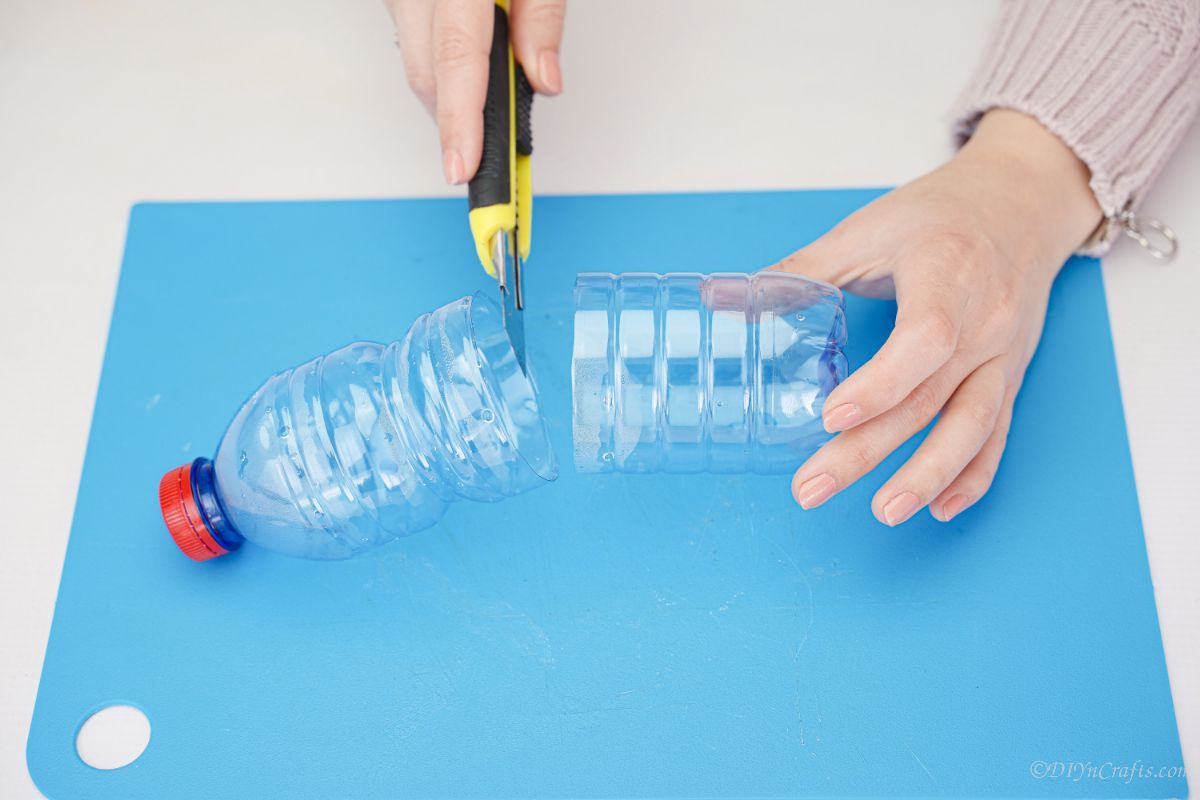
- Then, cut a small slit just below the neck of the bottle around 1″ long and 1/4″ wide. This is the spot for your money to go into.
- Now, spray paint the bottle halves yellow and set them aside to dry.
- Once the bottles have dried completely, wrap the black tape around the base of the bottom half of the bottle, just above where it begins to curve downward.

- Then, wrap a length of tape around the top edge of the bottom half of the bottle.
- Next, wrap a strip of black tape about halfway down the top half of the bottle.
- Now, sit the top half of the bottle into the bottom half of the bottle.
- Draw two circles onto black foam paper and cut them out for the eyes.
- Use a paint pen to add one large dot on one side of each circle, and three small dots on the opposite side.
- Then, glue these eyes onto the top half of the bottle, just below the lid where it begins to curve downward, with the three dots on the bottom.
- Fold a piece of white craft paper in half, then trace a wing shape onto it that is about half the height of the bottle and wide enough to stick out 2″ on both sides of the bottle.
- Now cut them out.
- Glue the wings to the back side of the bottle, below the spot you created for money to go into.
- Trace two antennae shape onto the black foam paper.
- Cut these out and glue them to the top lid of the bottle.
- Then, add a small smile with a black marker below the eyes of the bee.
Notes
Leave the bottle in tact instead of cutting in half if using as a decoration instead of a coin bank.
Similar Projects: Gorgeous Old Book Page Wrapped Wreath With Flowers
Recommended Products
As an Amazon Associate and member of other affiliate programs, I earn from qualifying purchases.

