Yield: 1
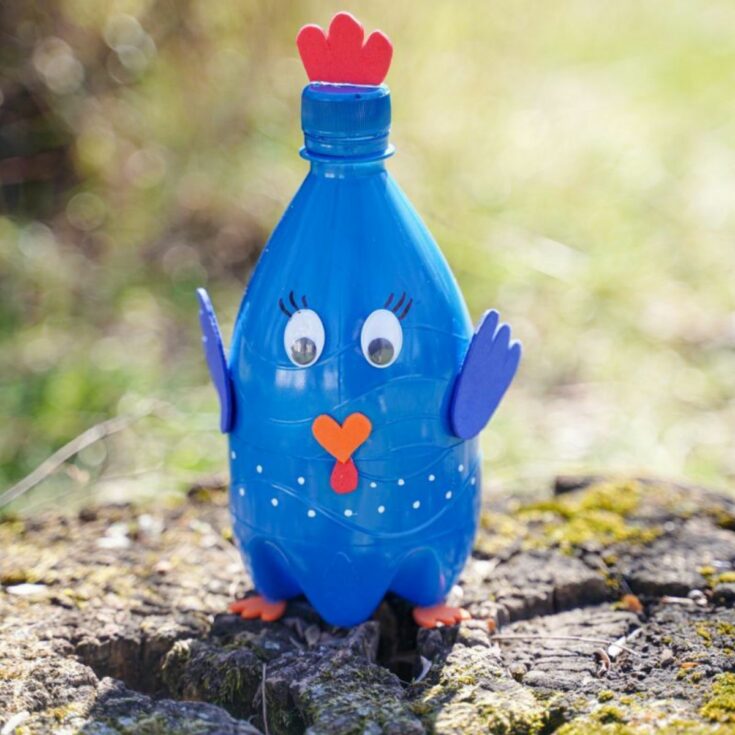
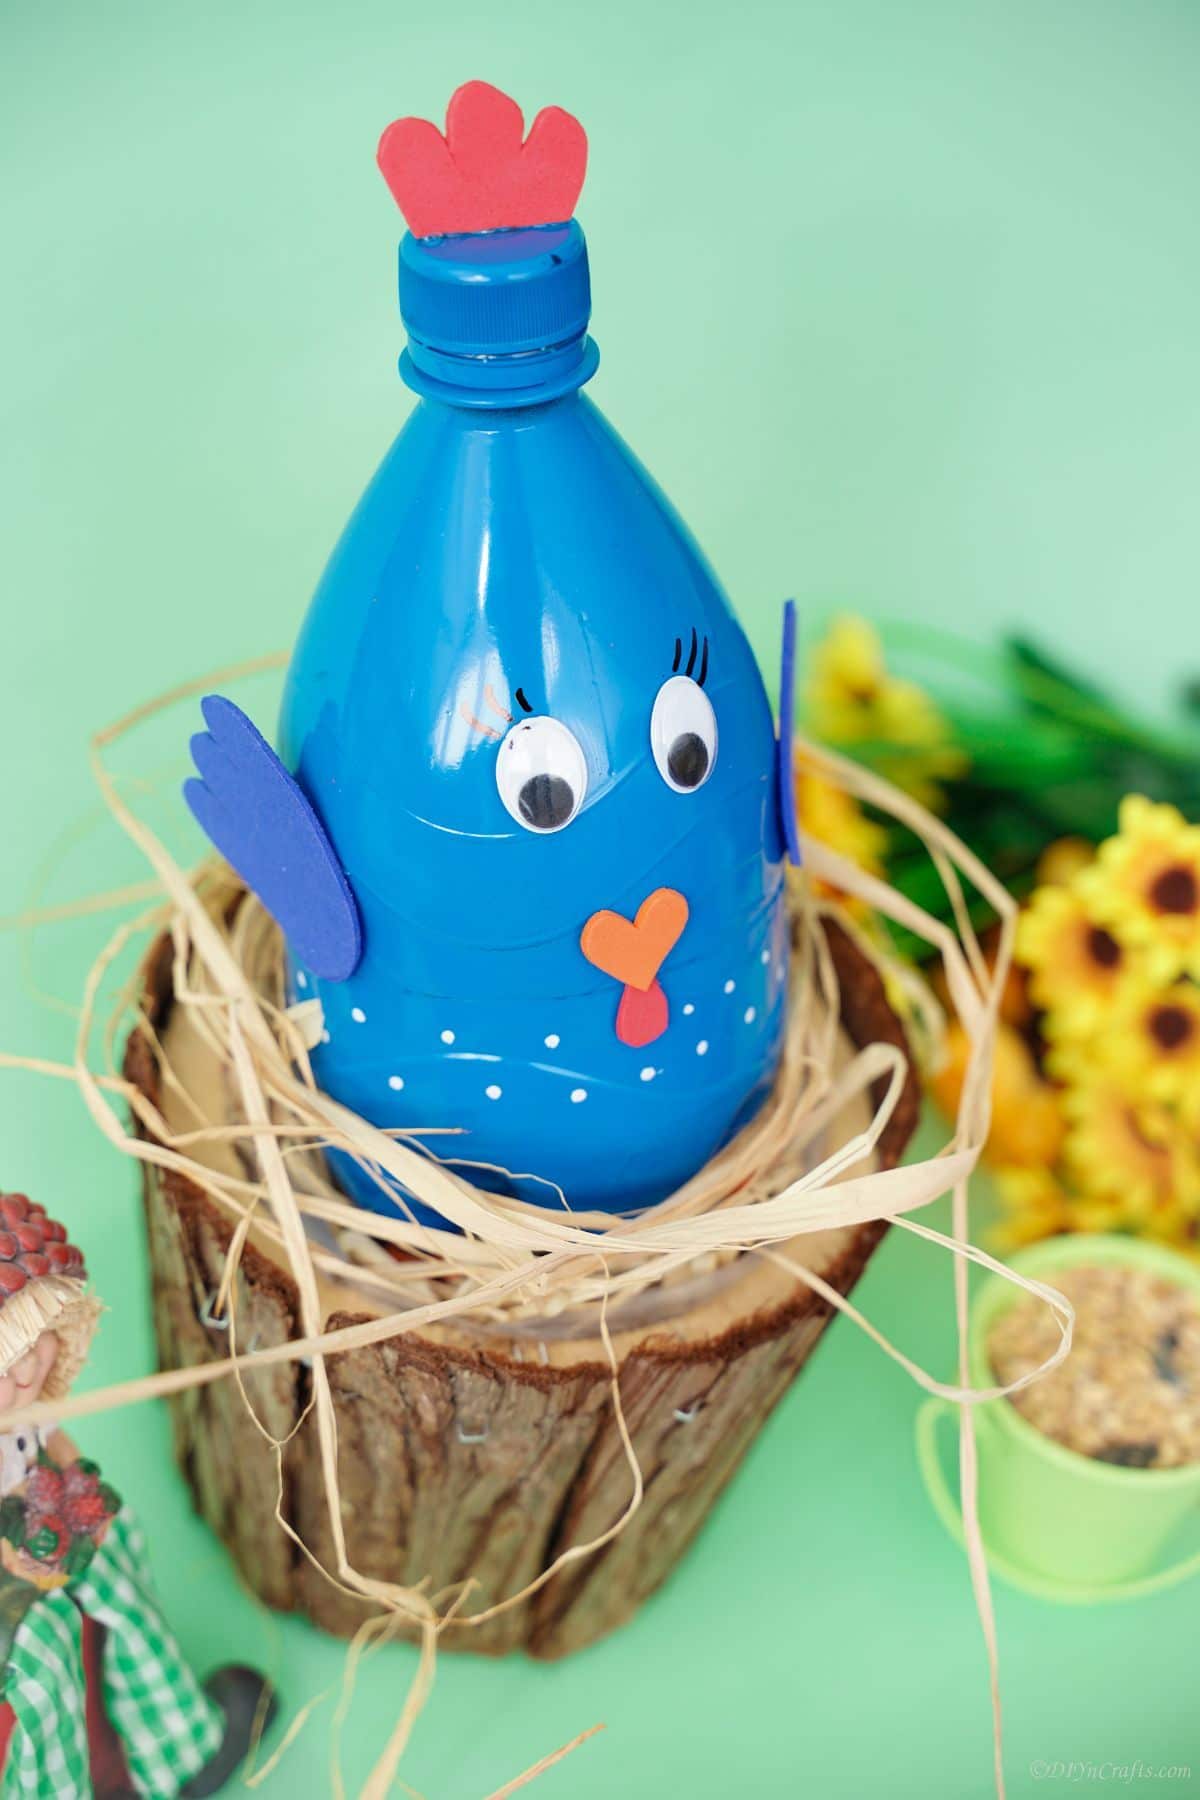
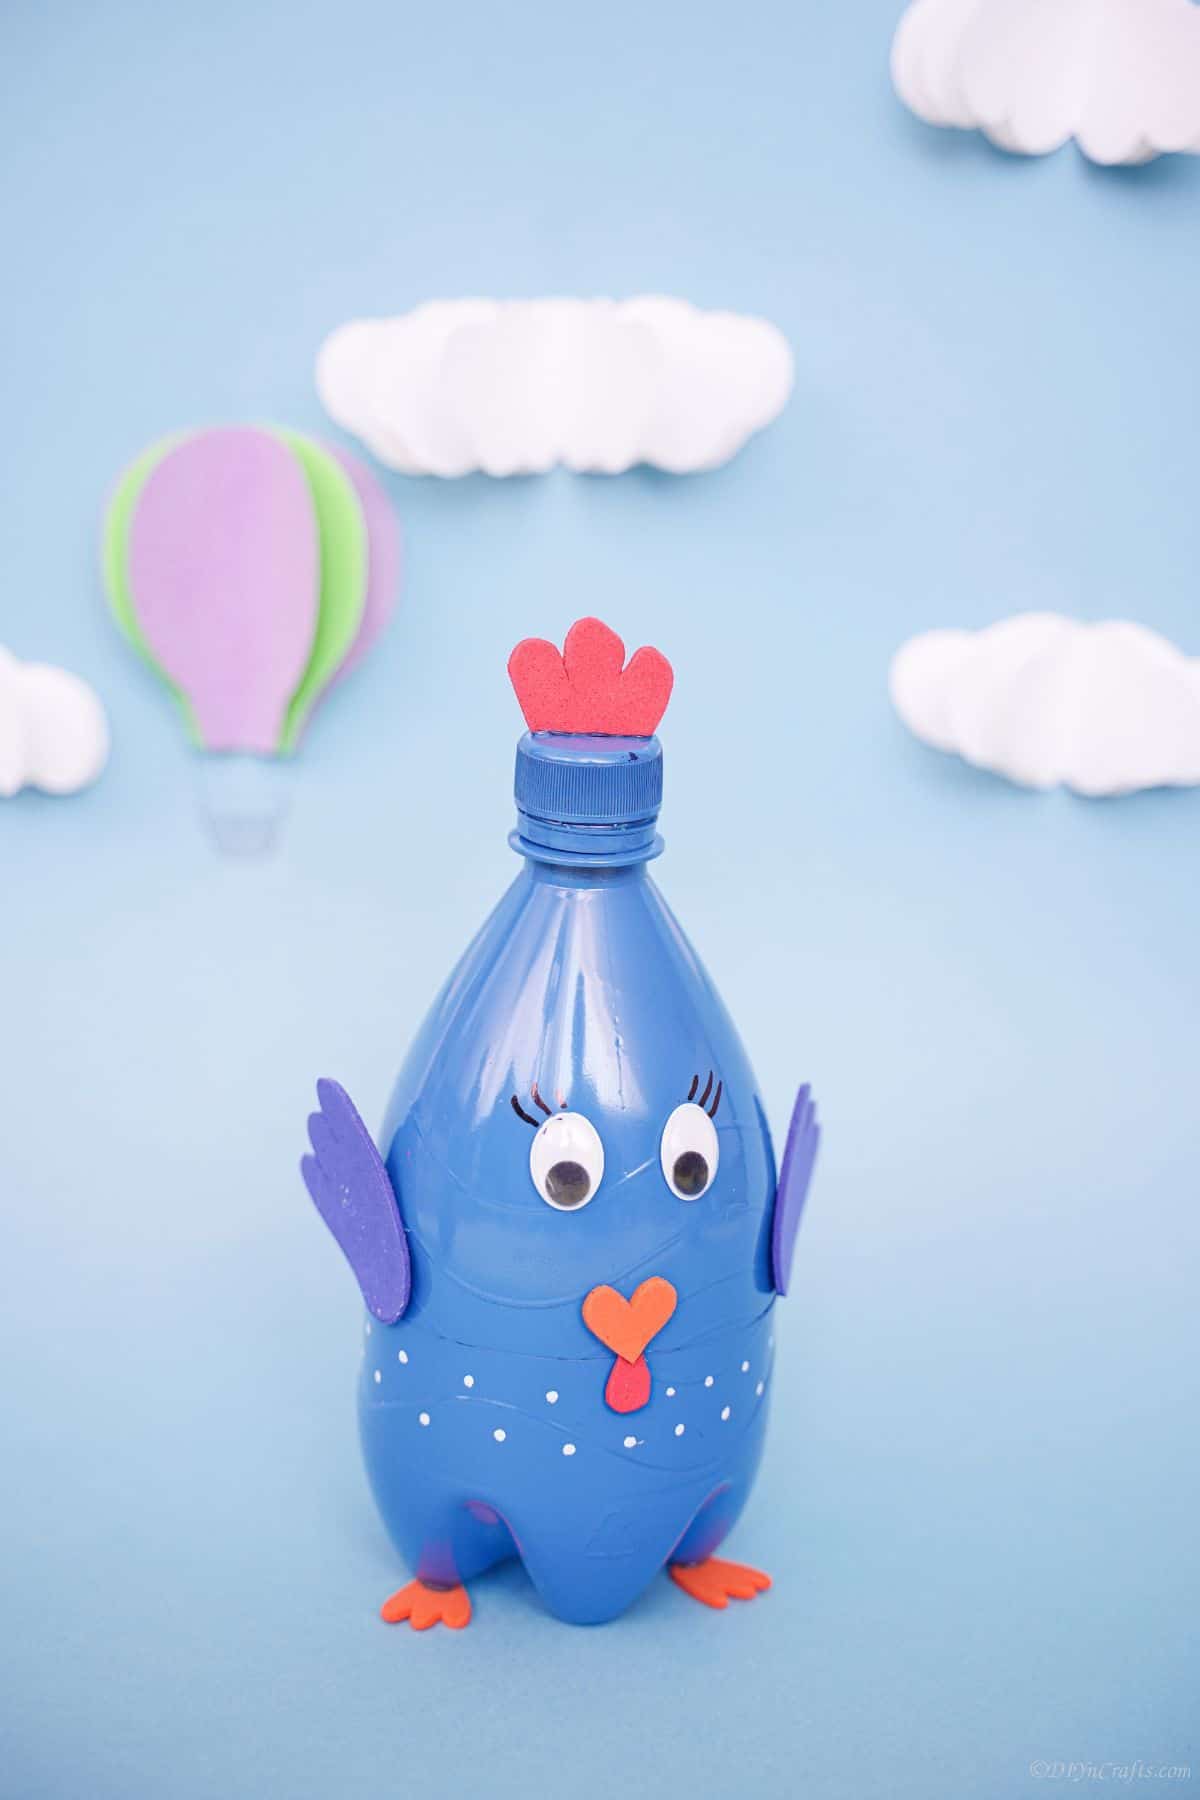
Turn an empty plastic bottle into an adorable turkey craft! The perfect Thanksgiving kids craft idea for a rainy day!
Active Time
20 minutes
Additional Time
30 minutes
Total Time
50 minutes
Difficulty
Easy
Estimated Cost
$1
Instructions
- Cut the bottom 1/3 of the bottle off and set it aside.
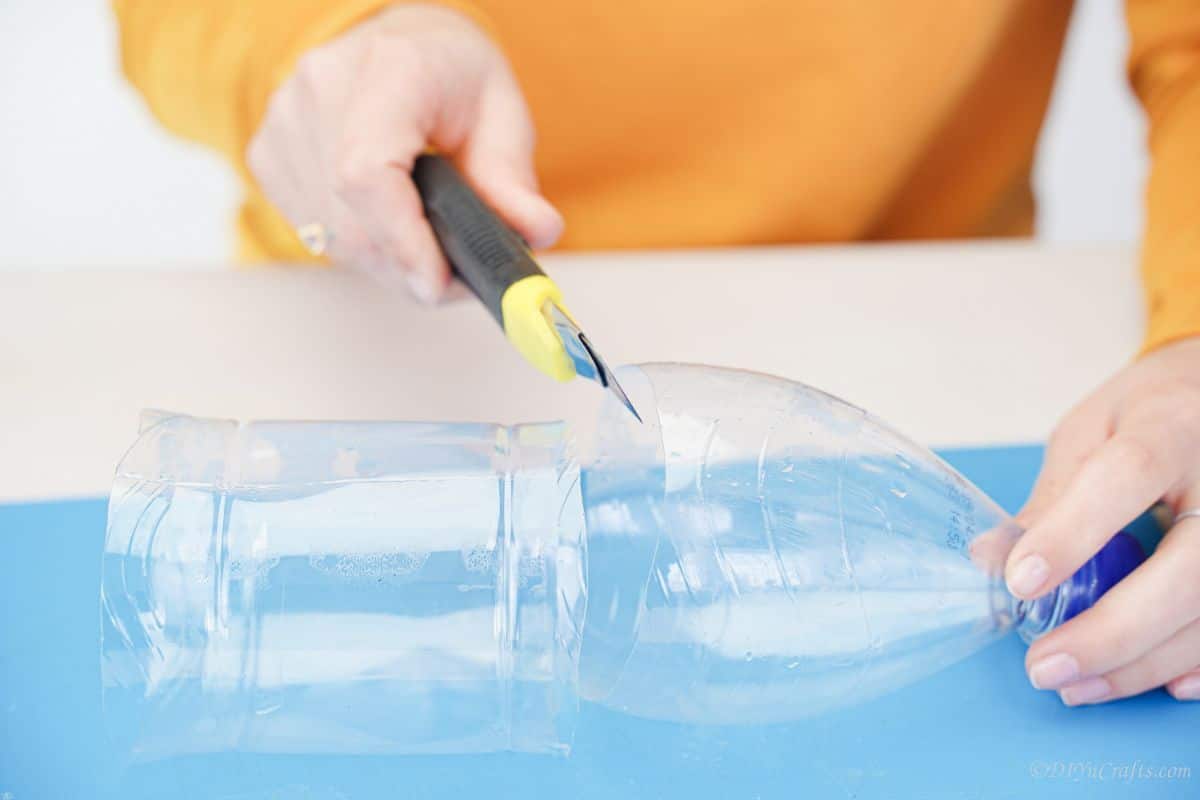
- Then, cut the top 1/3 of the bottle off and set it aside.
- Discard the middle piece.
- Now, fit the top over the bottom.
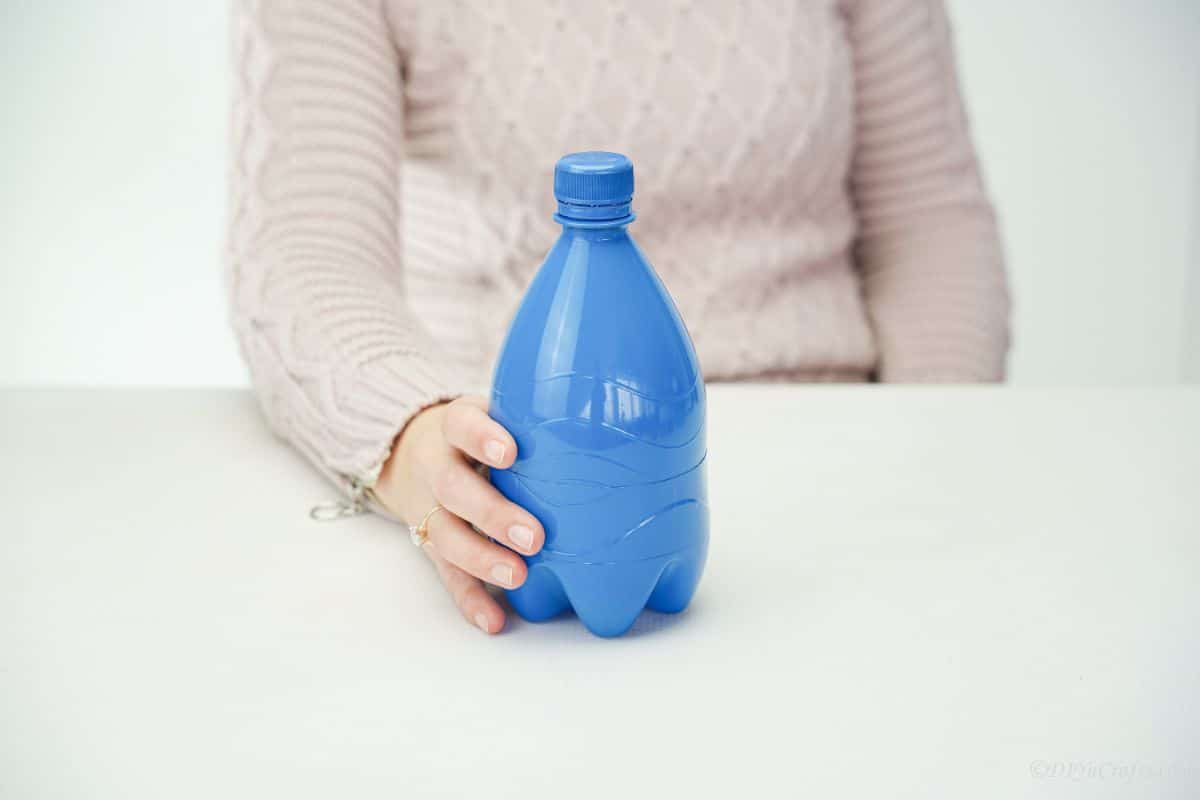
- Spray paint it blue all over then let dry.
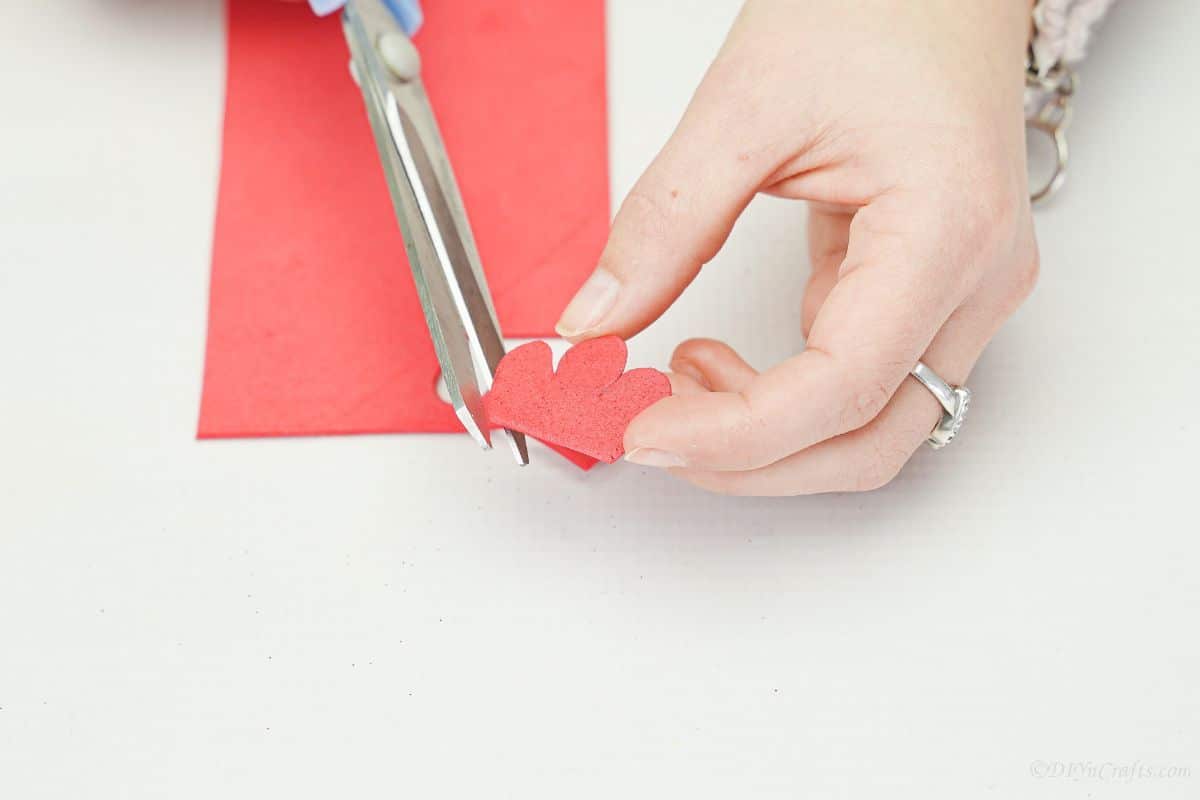
- While this dries, trace and cut out a red “beard” for the turkey on the red foam paper.
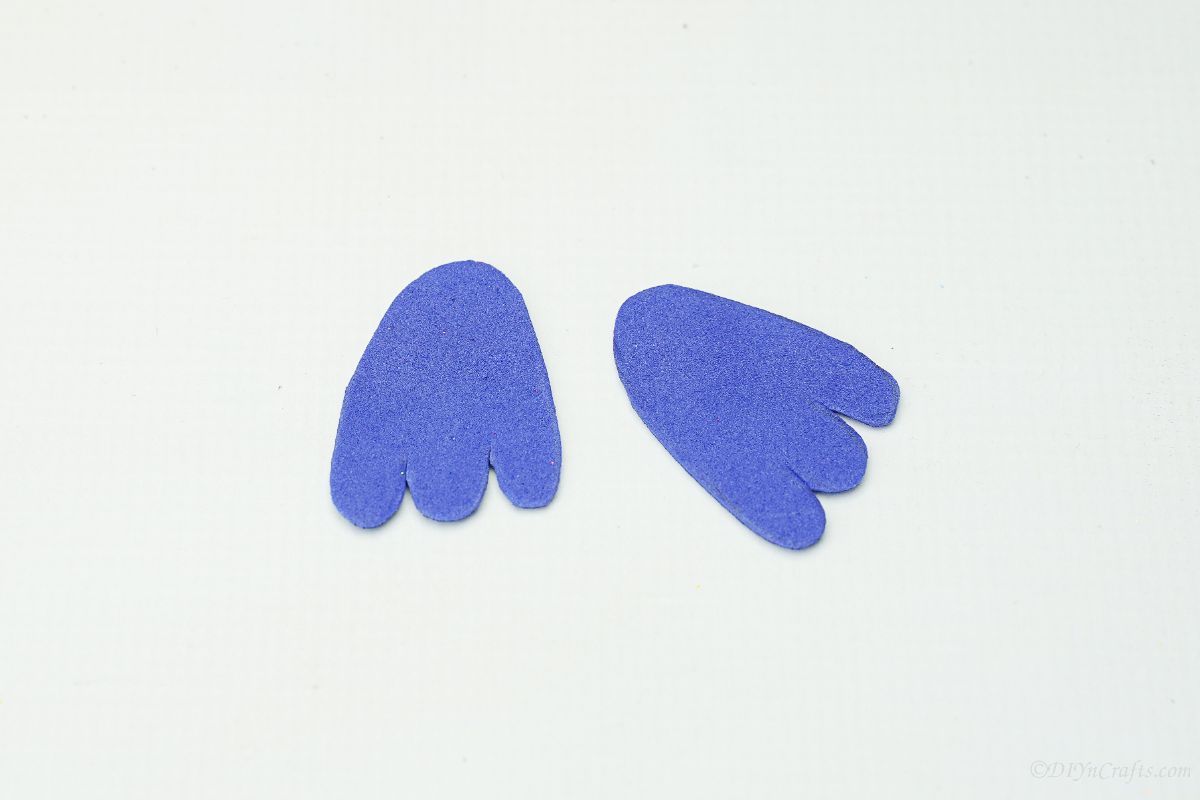
- Then, trace and cut out 2 wing shapes on the blue foam paper.
- Next, trace and cut out a small oval from the red foam paper for the mouth/tongue.
- On the orange foam paper, trace and cut out two shapes for feet.
- Then, trace and cut out a heart shape from the orange paper for the beak.
- When the bottle is dry, begin assembling your turkey. Start by gluing the red “beard” on top of the lid on the top of the bottle.
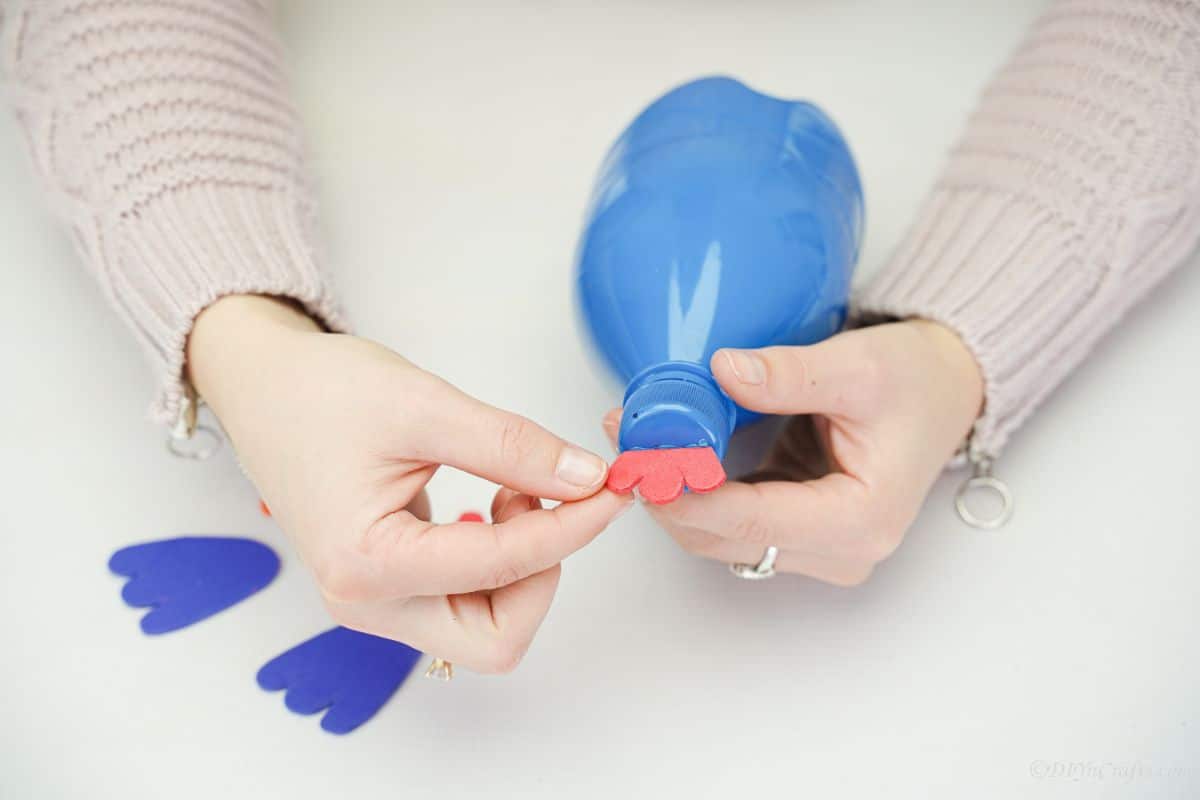
- Then, on each side, glue a wing.
- On the top half, add the googly eyes.
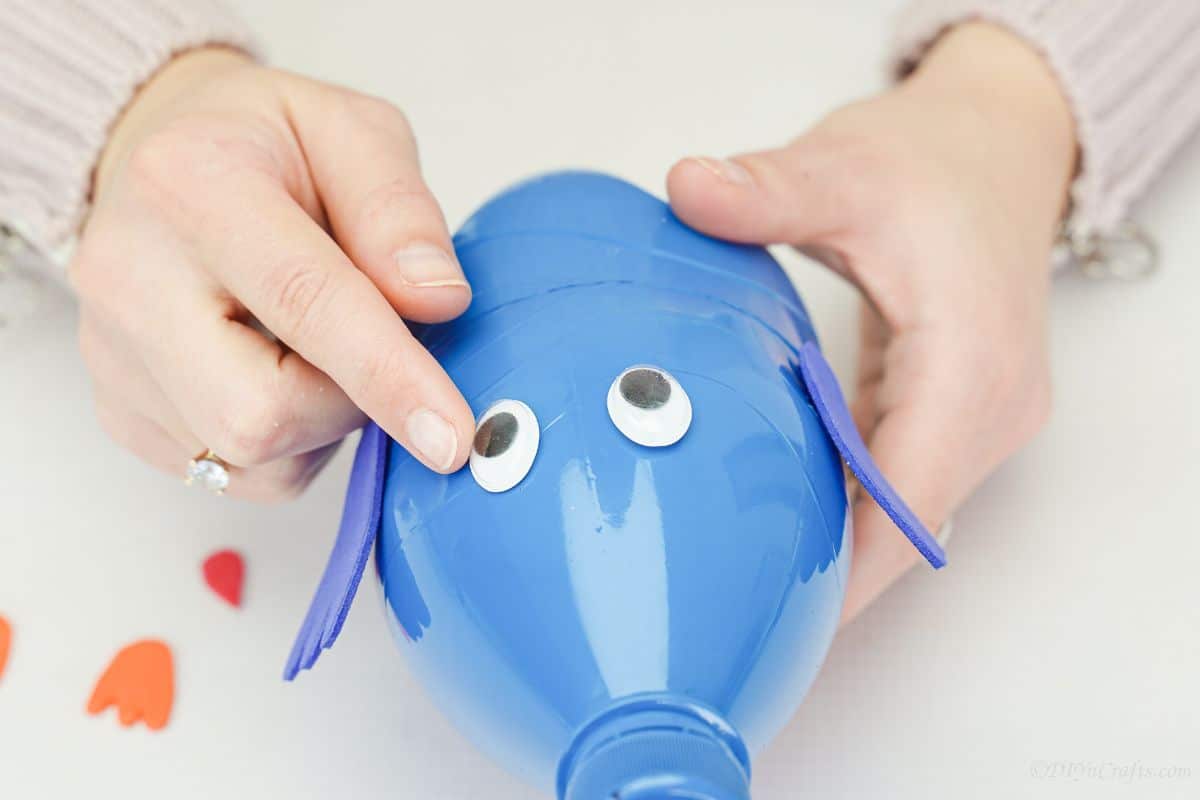
- Then glue the small red oval toward the bottom half.
- And then the orange heart just above it.
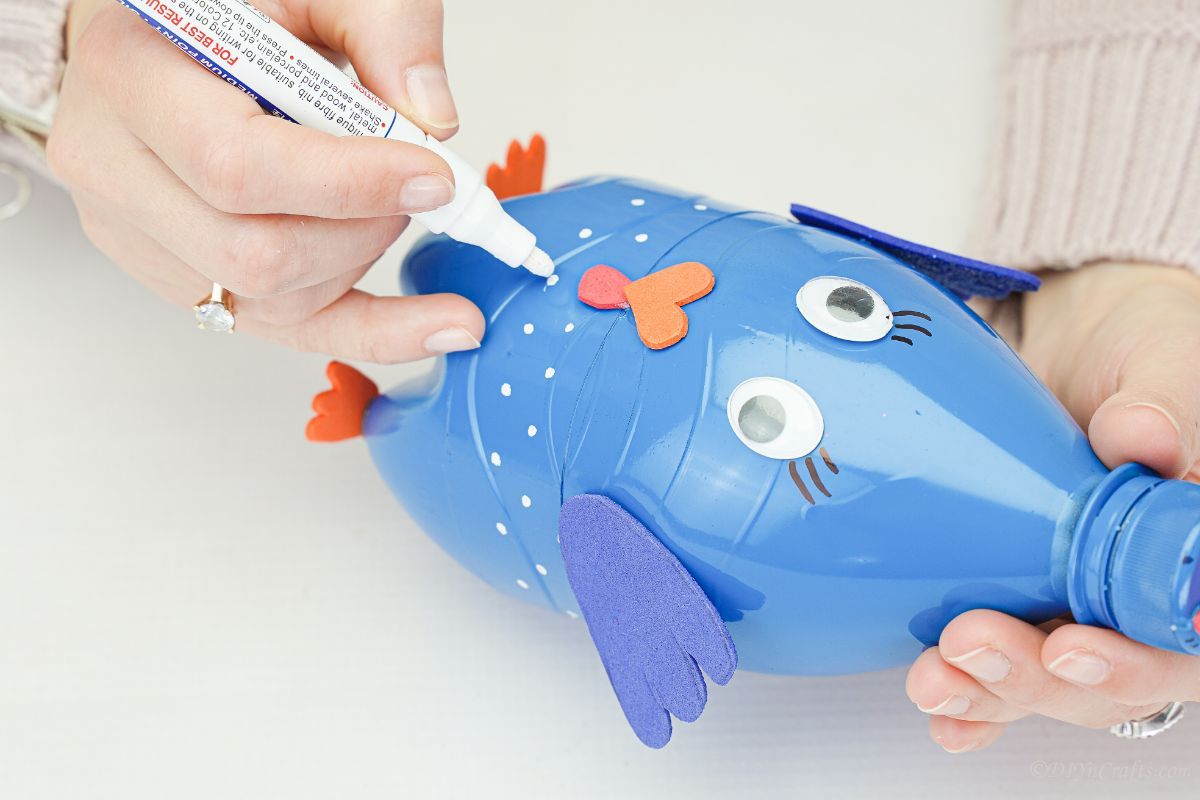
- Use a black marker or paint pen to draw eye lashes above the googly eyes.
- Then use a white paint pen to add dots around the middle of the bird.
Notes
Make this brown or orange for a more traditional turkey. Leave the red piece off the lid and call it any type of bird you prefer!
Similar Project: 80 Beautifully Vibrant Floral Decor Ideas To Celebrate Summer
Recommended Products
As an Amazon Associate and member of other affiliate programs, I earn from qualifying purchases.
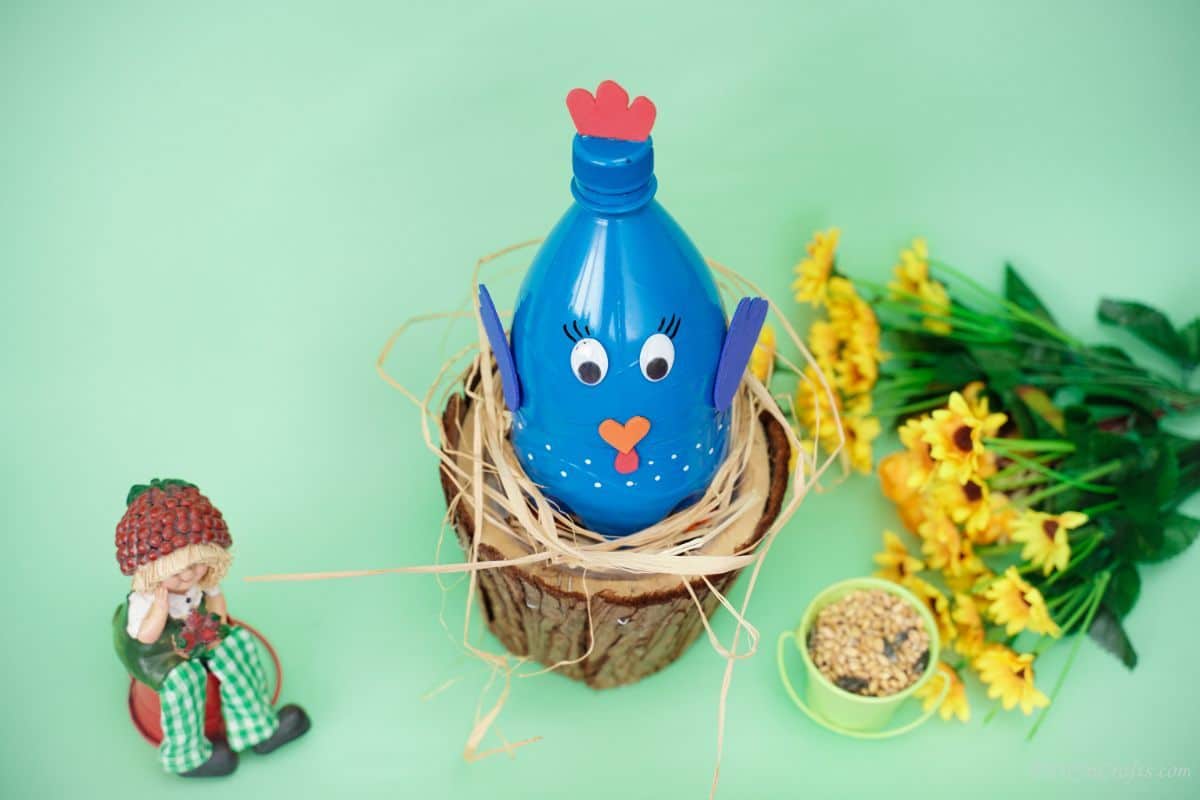
Why not add a little eco-friendly flair to your Thanksgiving decor this year with this upcycled plastic bottle turkey craft? It’s a fun and easy project the whole family can enjoy, and it’s a great way to recycle those old plastic bottles that you were just going to throw away. Give your turkey some personality and add this to a shelf, centerpiece, or on the mantle!
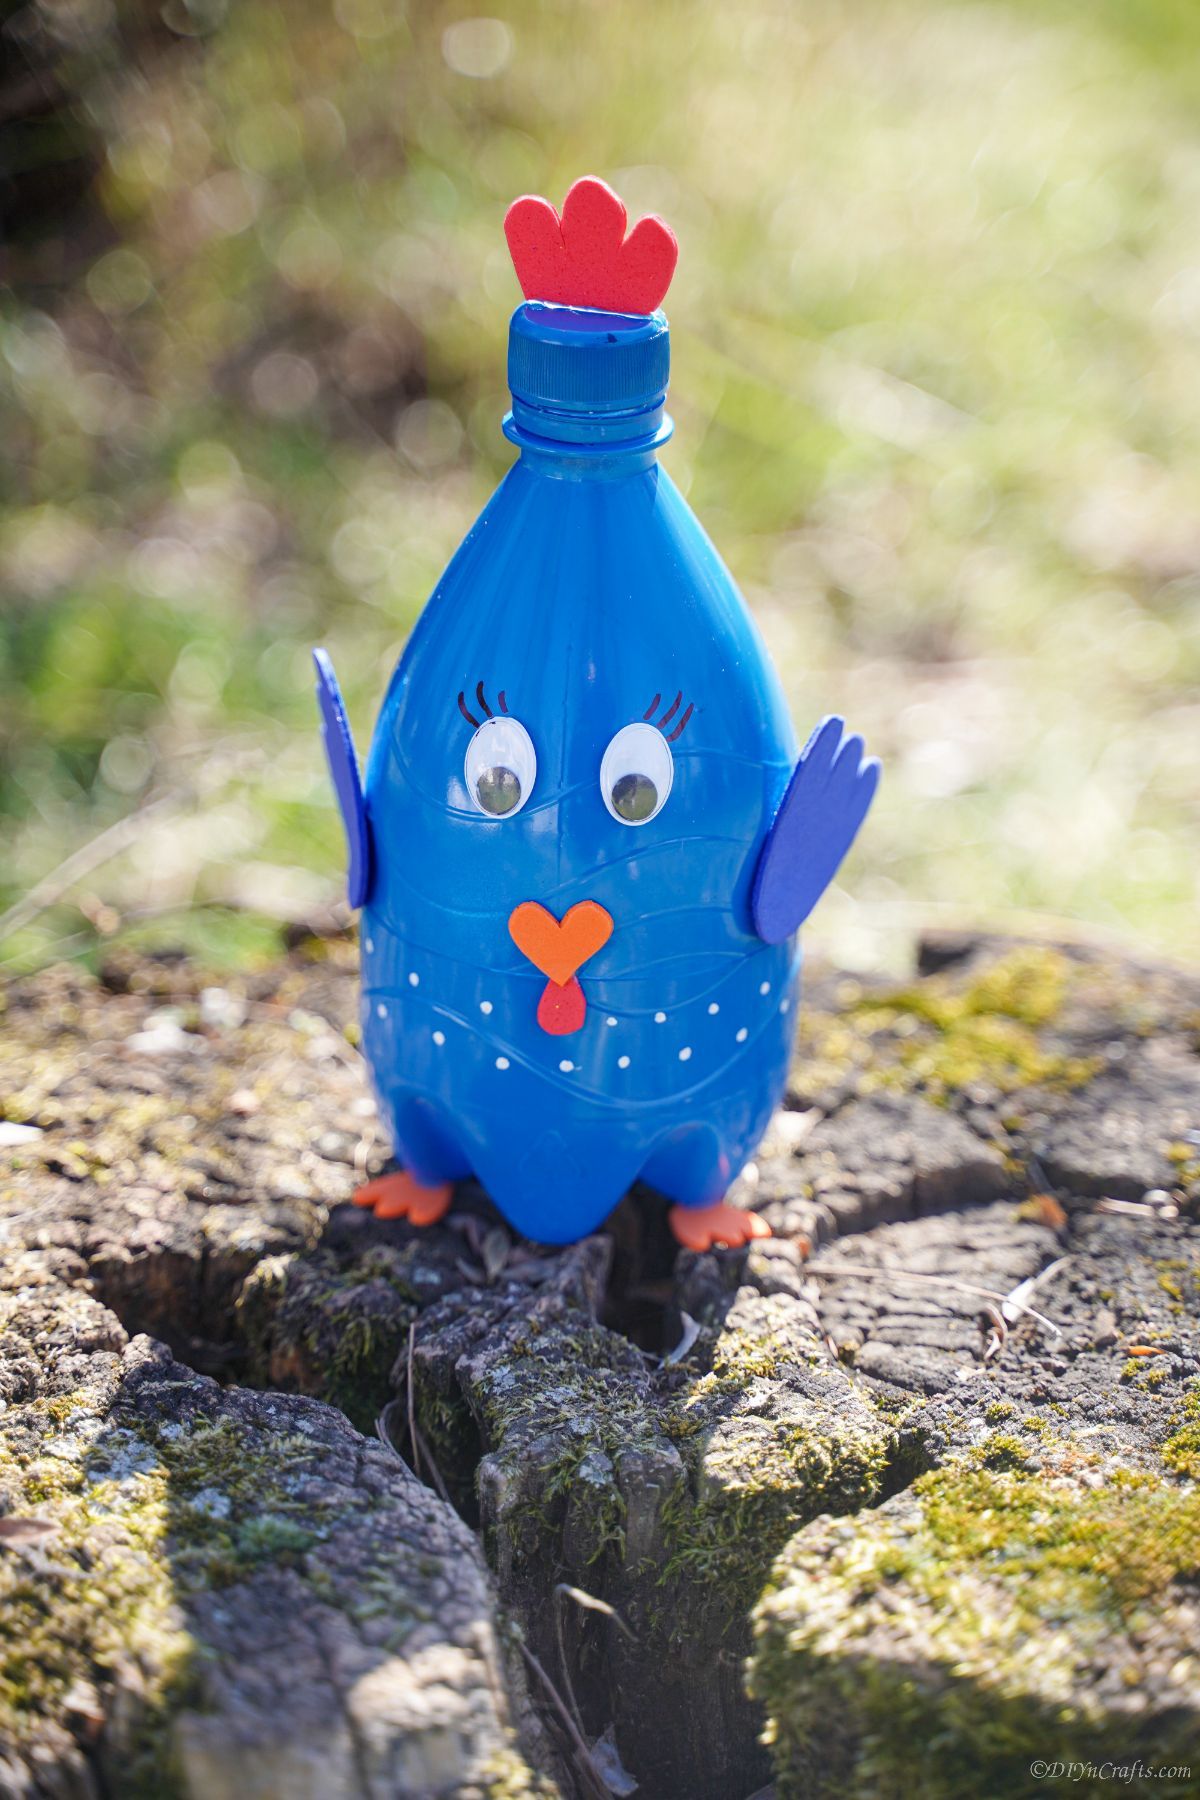
Plastic Bottle Turkey
Thanksgiving is coming up and you need a new centerpiece for your table! This year, why not try something different and make a turkey craft out of a recycled plastic bottle? It’s easy to do and the end result is really impressive. You can use this craft as a decoration for your Thanksgiving table or even as a gift for someone special.
Similar Project: 20 Rustic Shutter Repurposing Projects to Add Style to Your Home
I know you’ll love this turkey craft – it’s so cute and festive! Plus, it’s made from recycled materials, so you can feel good about using it. And if you want something different, make sure you check out our list of Thanksgiving table decorations. So many fun ideas to add a little bit of something extra to your table for the day of thanks.
What Can I Use For Making the Turkey Face?
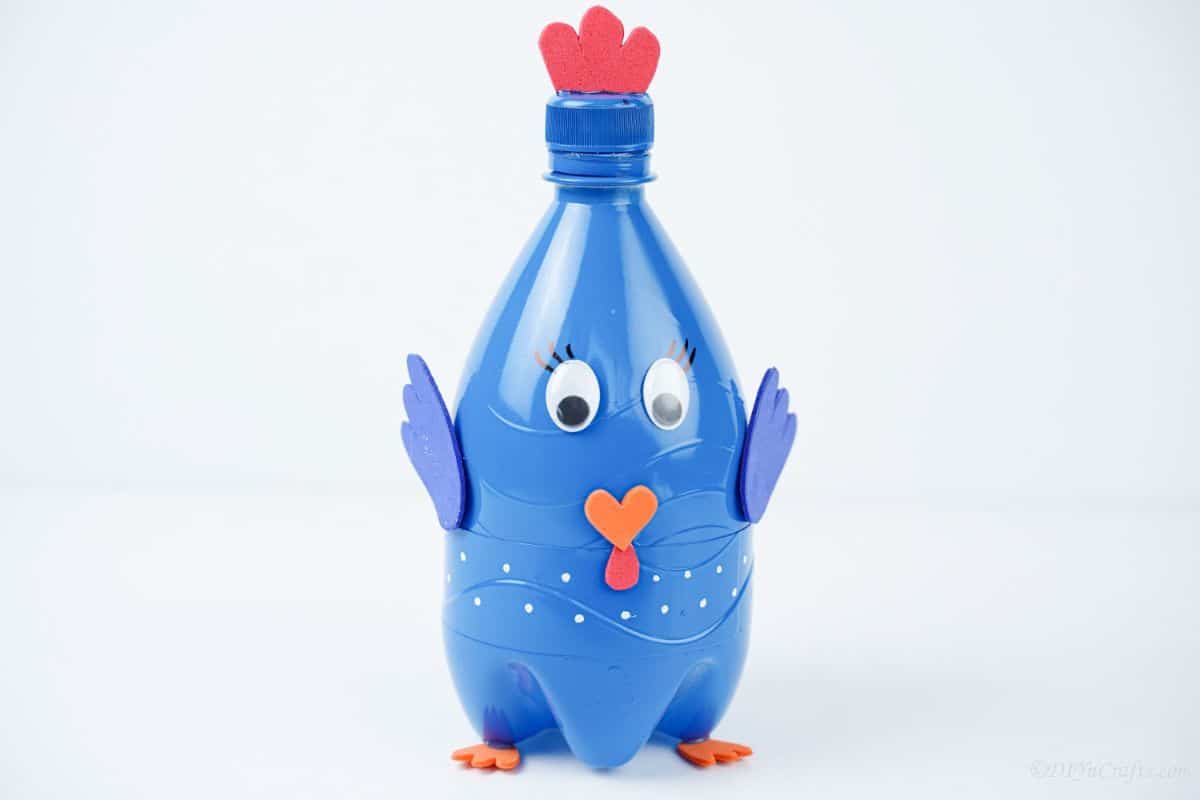
Making the turkey face is really easy. I love that I can use things that I already have in my craft closet. I am using googly eyes for the plastic bottle turkey face. Then I have crafting foam for the beak and waddle, the part of the turkey neck that hangs down.
You can use whatever you have on hand to make the face. Some ideas include using markers, paint pens, construction paper, or even stickers to make the turkey face. I also love using things like buttons, scrap yarn, fabric, or even lids from bottles.
What Colors Should I Paint My Turkey?
I am painting the turkey blue. I think it just looks pretty that way. However, the best part about this craft is that you can paint your bird whatever color you like. You can go with something traditional like brown or even use a dark orange. Or you can get festive and make the turkey in different colors.
Similar Project: 15 Genius DIY Ways to Make Your Home Smell Wonderful
You can even wrap the bottle with Thanksgiving-themed washi tape or use some Mod Podge to add scrapbook paper to the bottle. The possibilities are all up to you and what you have on hand and want to create.
Can This Be Another Bird?
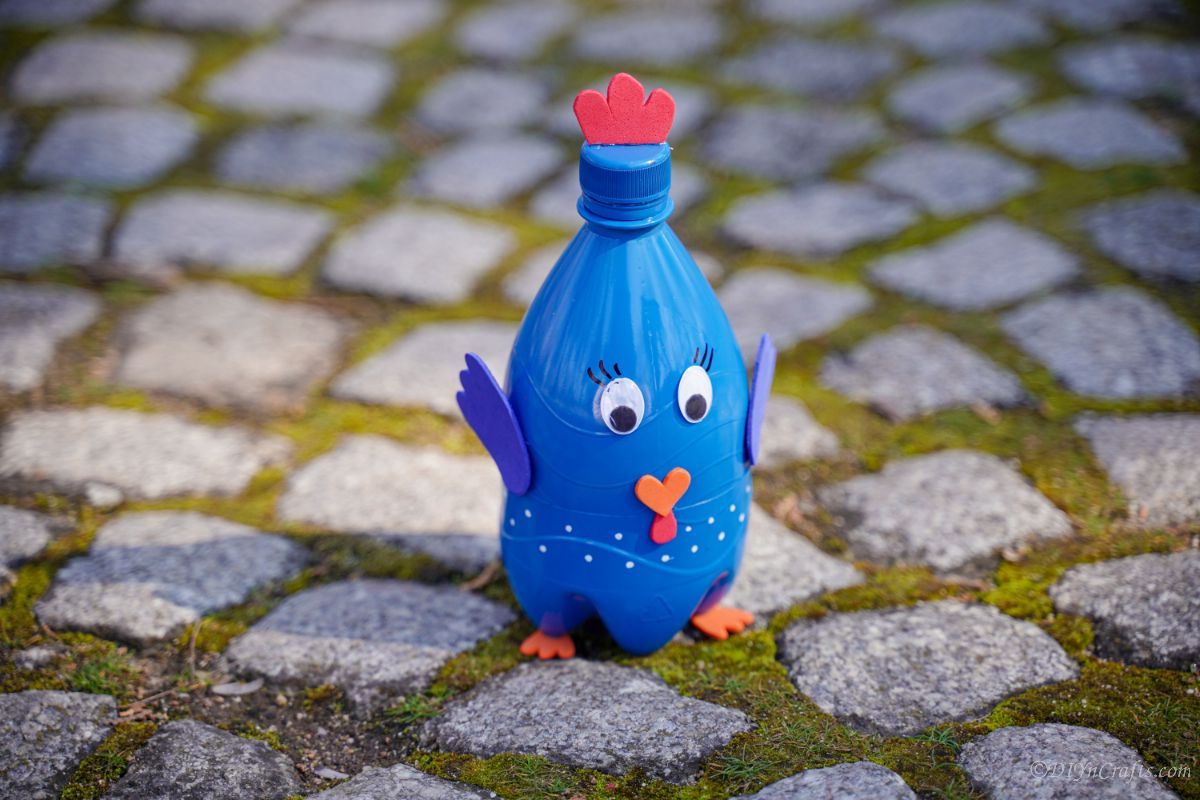
You can absolutely make this into different birds. It only takes a few changes. I will show you how to do that too. You can make this into a cardinal, Blue Jay, or even a goldfinch.
- To make this into a cardinal you will want to use red paint. You could also use orange or yellow.
- For the blue jay, you will want to use blue paint.
- Make an owl by painting it gray or brown and adding a more rounded shape for the head.
- For the goldfinch, you will want to use yellow paint.
The base is simple to make. How you decorate it and how you make it into a bird, is all up to you and what you want your bird to look like and become.
What Paint is Best For Plastic Bottles?
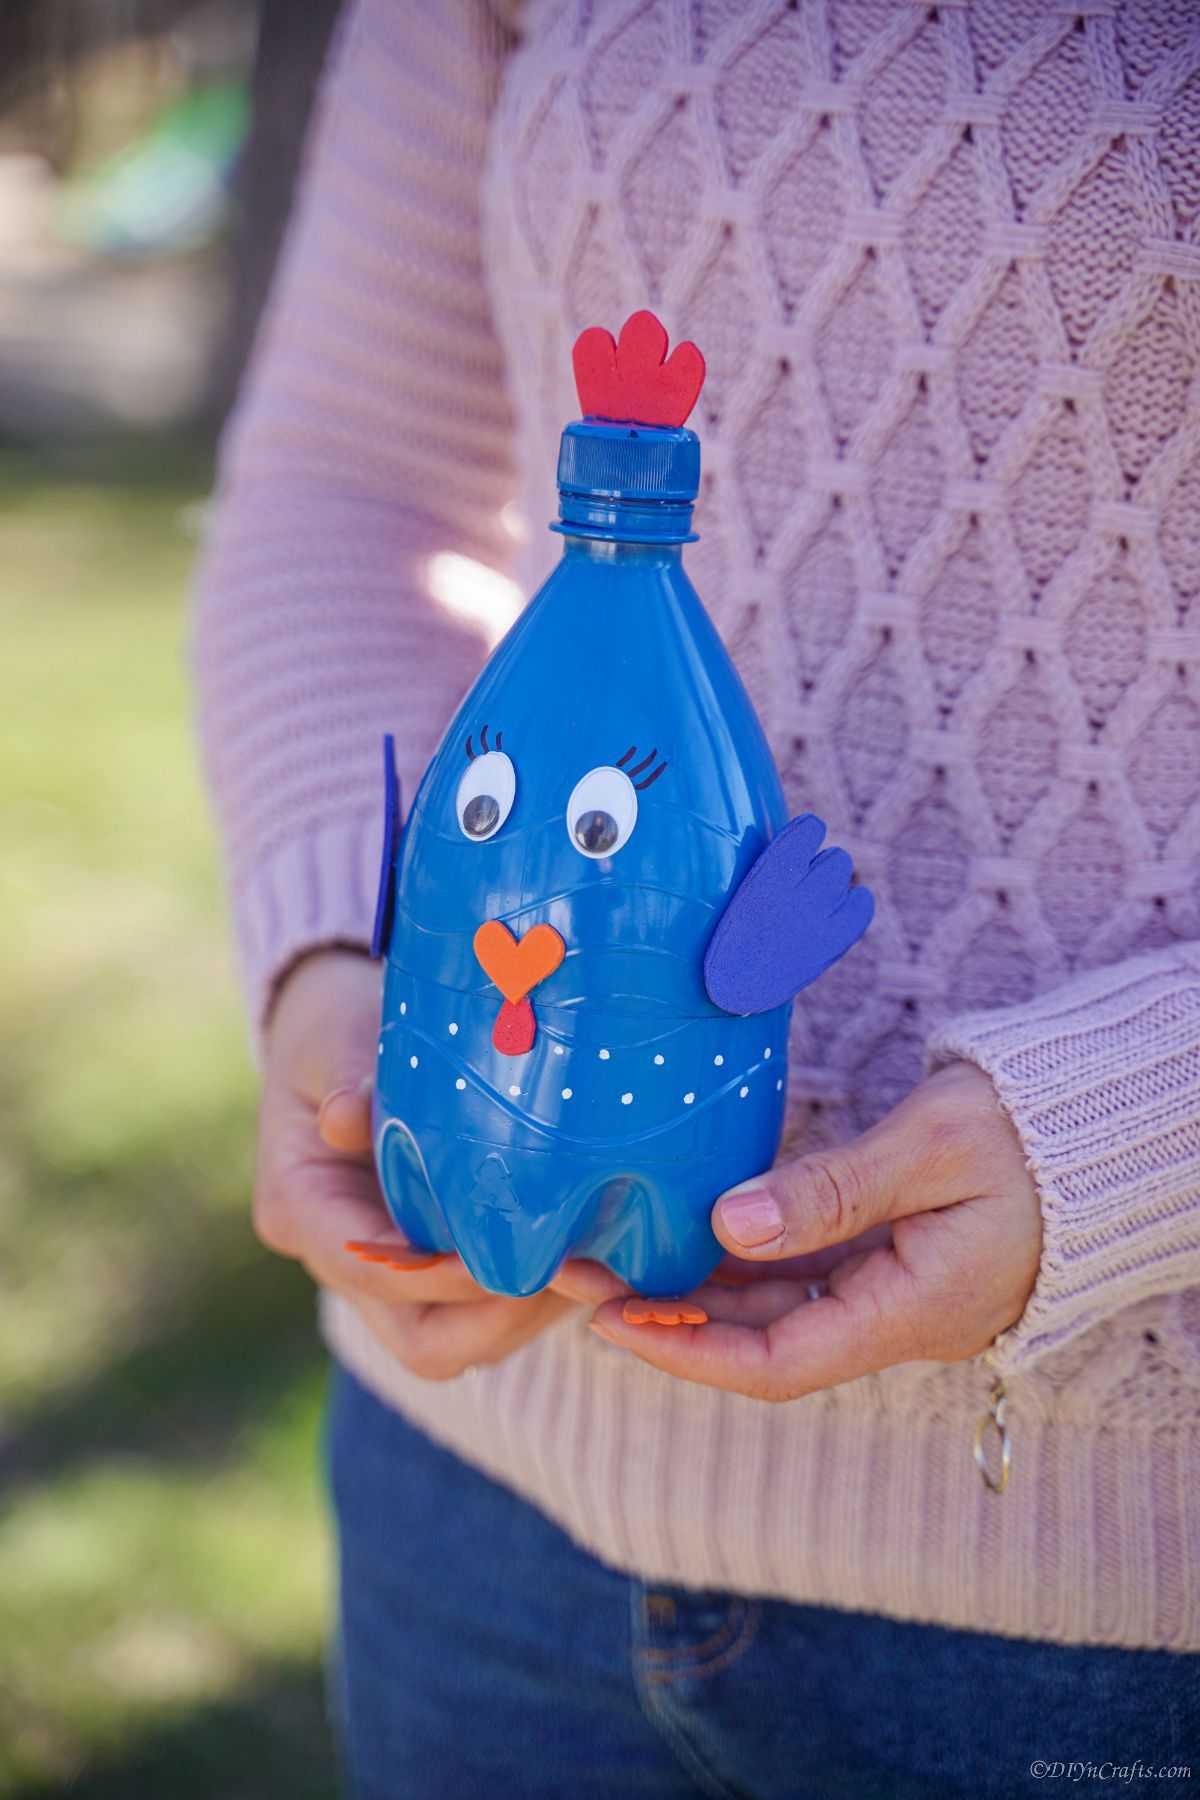
I like to use spray paint when I am painting plastic bottles. It is the easiest and most cost-effective. If you want to paint details or don’t have spray paint, you can use any acrylic craft paint. It is still inexpensive but lets you use a paintbrush to make details. If you find that the paint doesn’t stick to the plastic, use light grain sandpaper to rough the sides of the bottle slightly.
Similar Project: 20 Easy DIY Dog Beds and Crates That Let You Pamper Your Pup
As mentioned above, you can skip the paint and use washi tape or scrapbook paper instead. You just want to make sure whatever you choose offers solid coverage and will stay on the bottle and make the design you are looking for.
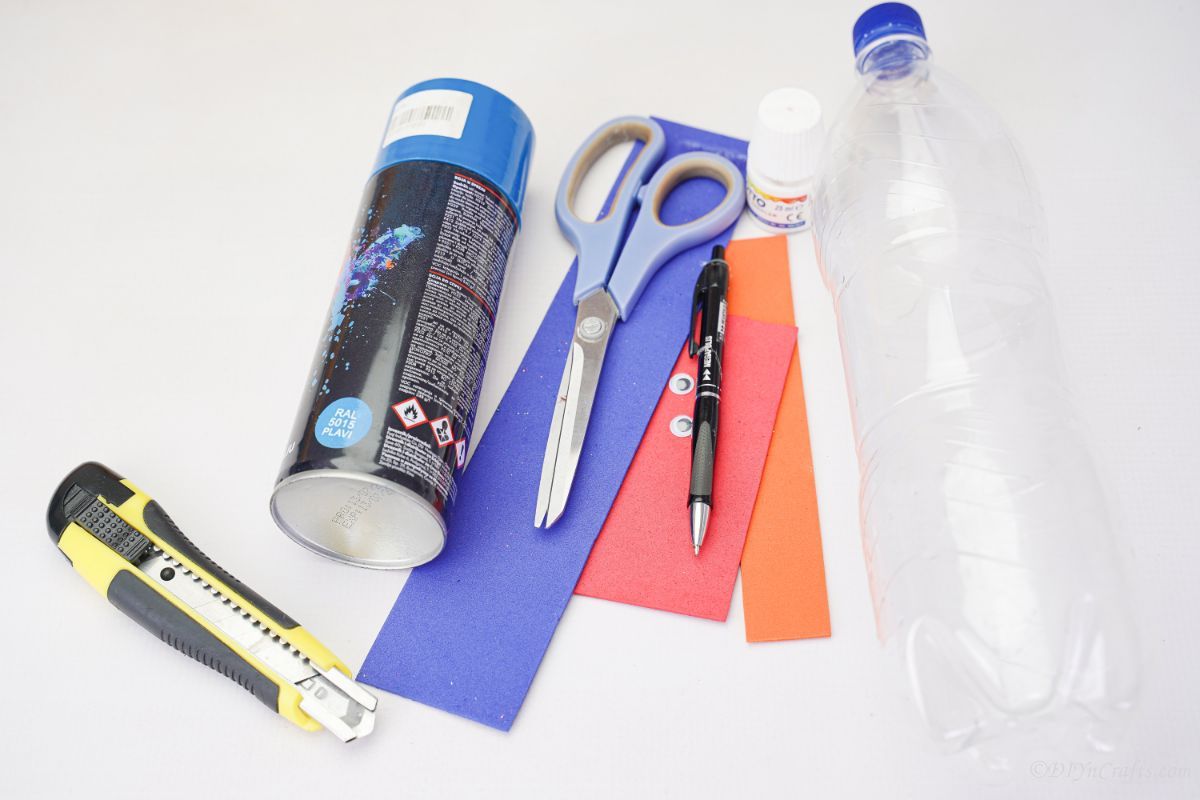
Supplies Needed
How to Make a Plastic Bottle Turkey
Remove the labels from the bottle, and then clean it out and let it air dry. Once the bottle is clean, you will cut off the bottom 1/3 of the bottle and set it aside.
Then cut off the top 1/3 of the bottle and set it aside, discarding the middle section to use for other projects.
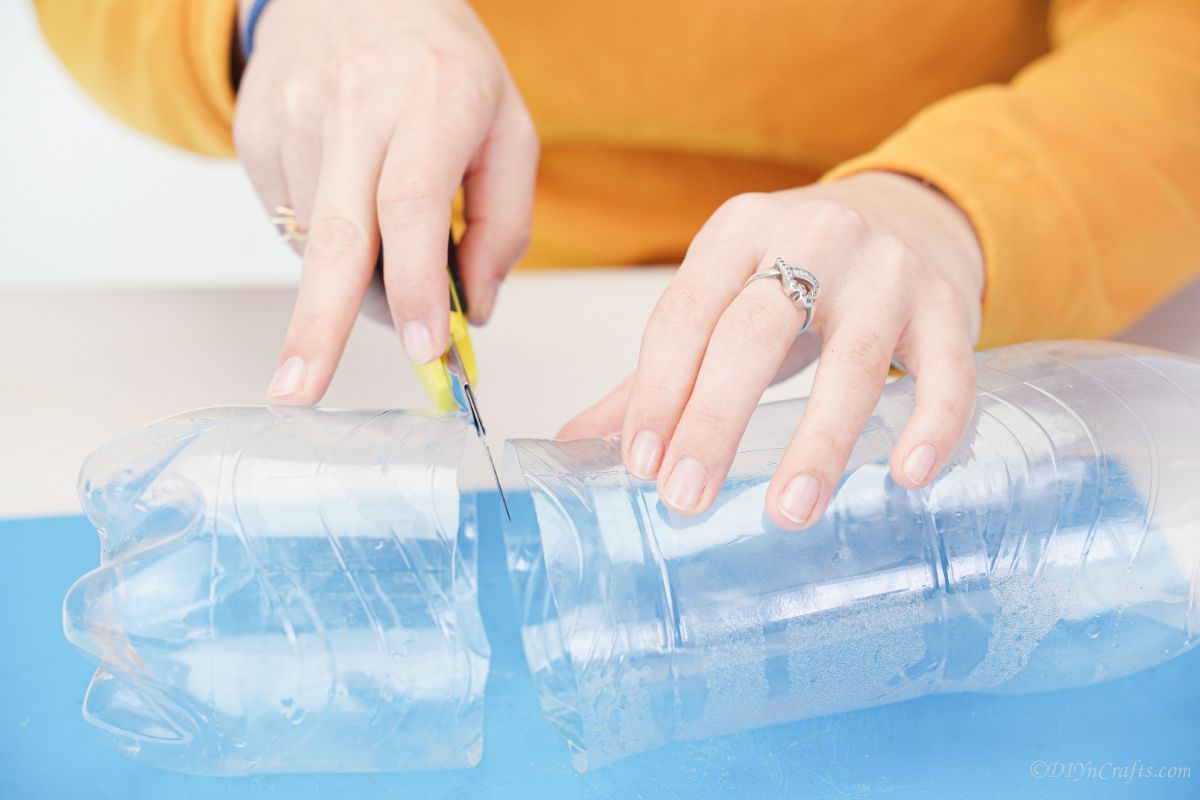
Slip the top piece over the bottom so they now make a smaller bottle.
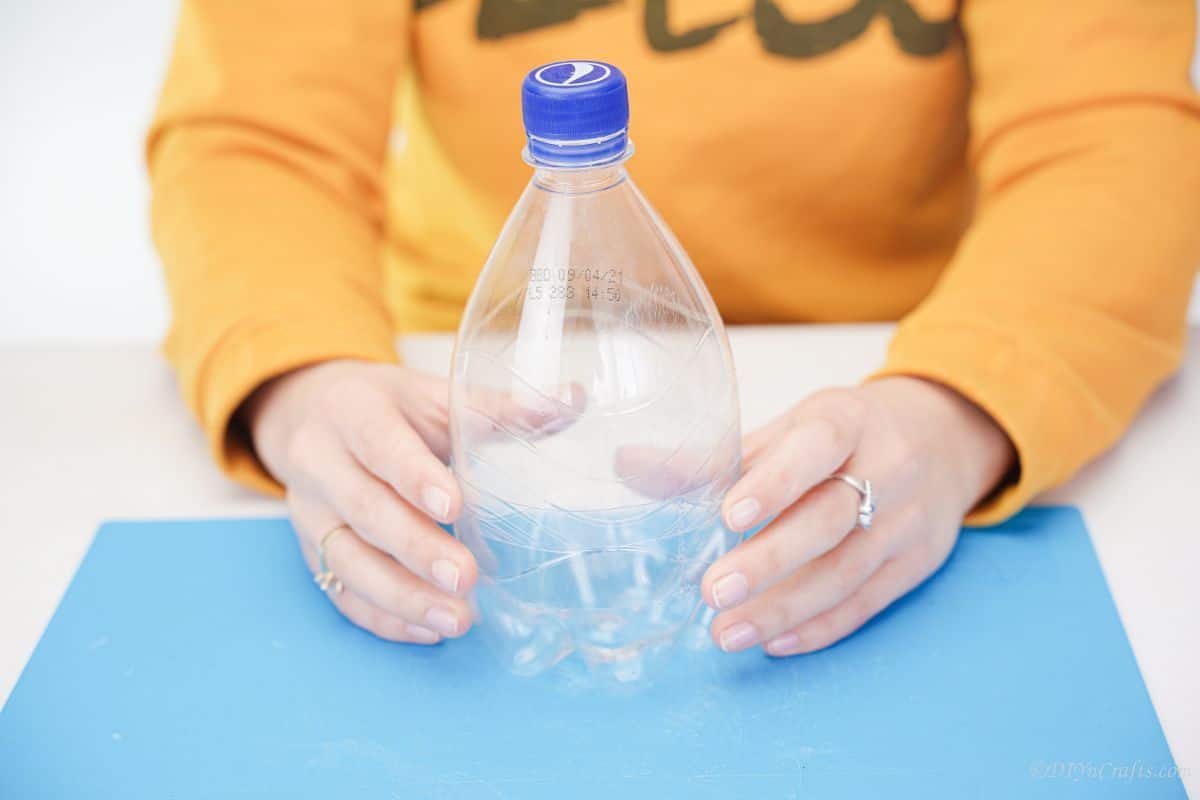
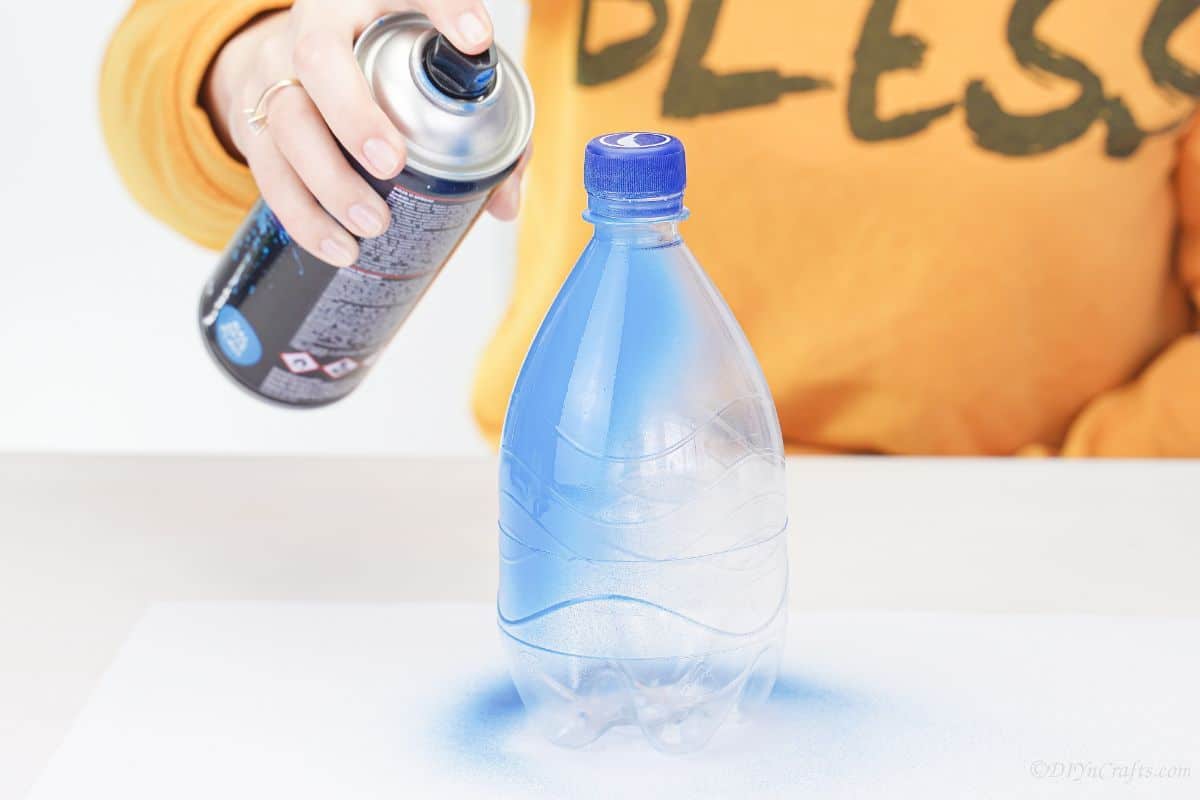
Then, spray paint the bottle blue, and set it aside to dry completely.
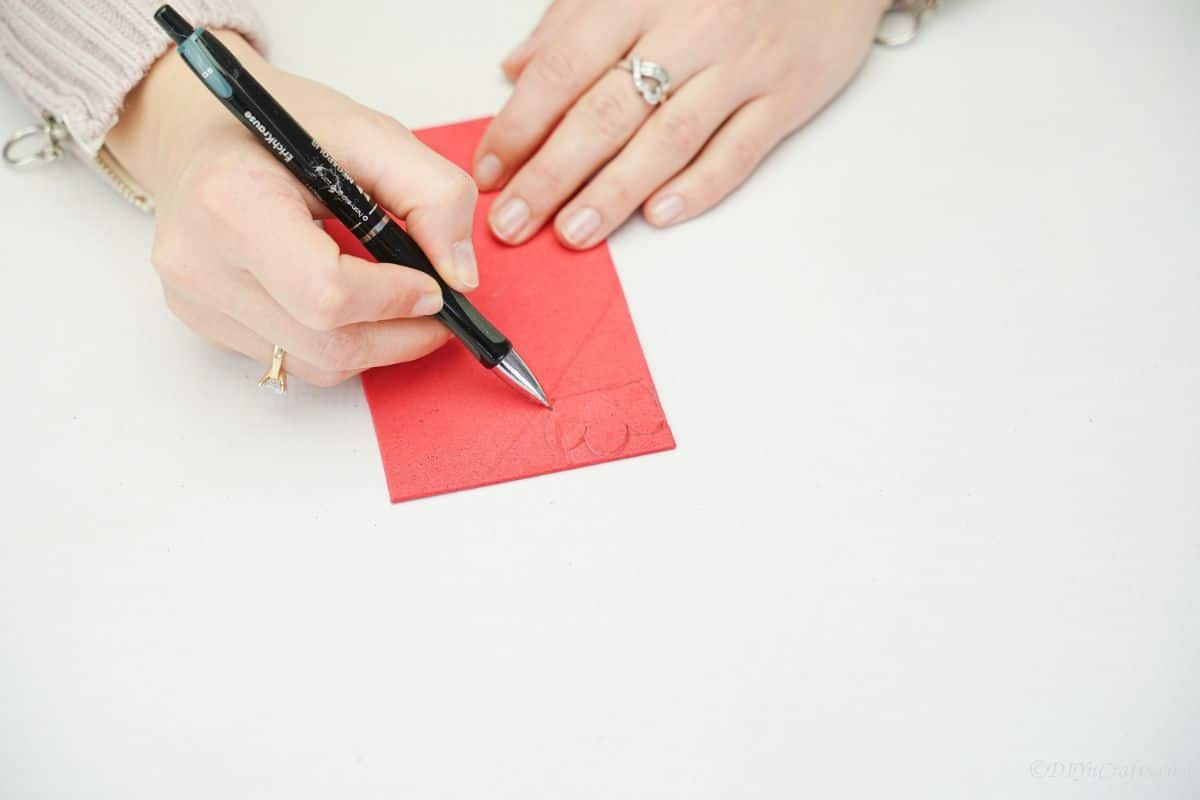
While you wait for this to dry, you can cut out the pieces to create the face for your turkey. On the red foam paper, trace out a bubbly “m” shape for the top of the turkeys head. Cut this out and set it aside.
Similar Project: 50 Genius Chalkboard Paint Projects That Will Beautify and Organize Your Home
Then, trace two wing shapes onto the blue foam paper and cut them out, and set them aside.
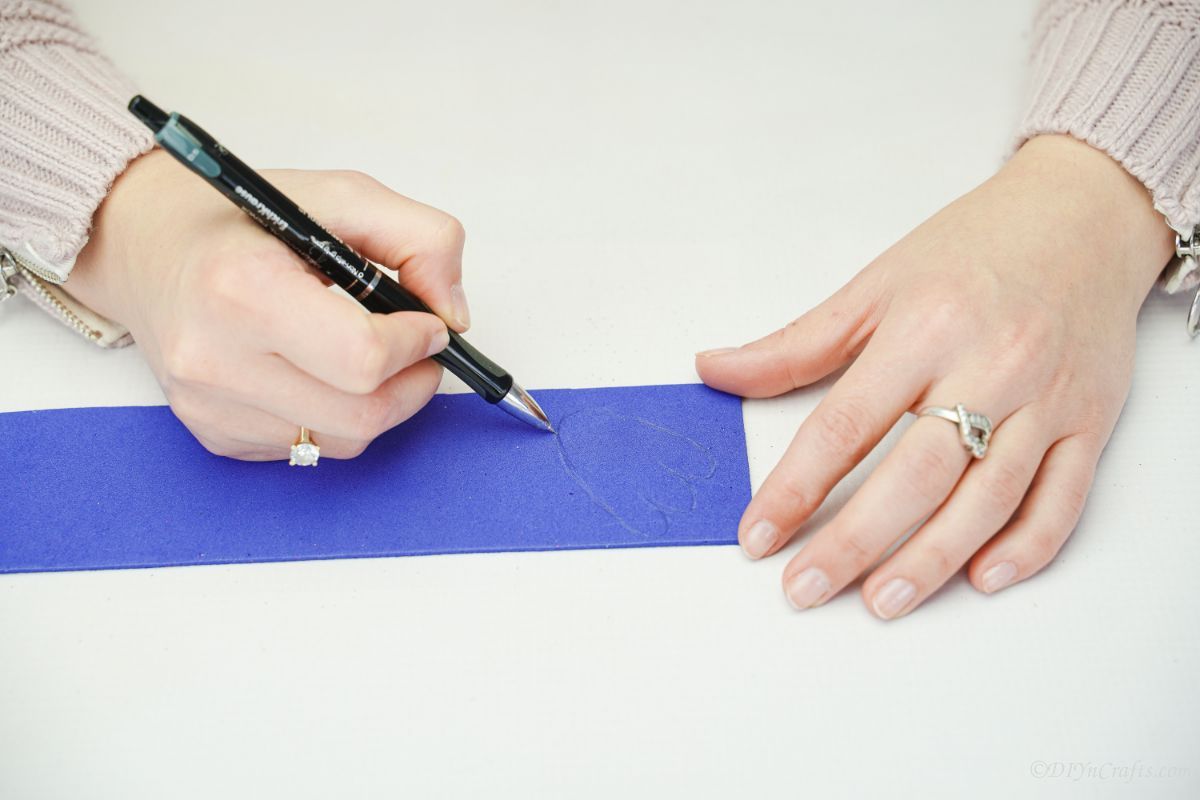
On the red foam paper, draw a small oval.
Then, use orange paper to cut out two small foot shapes.
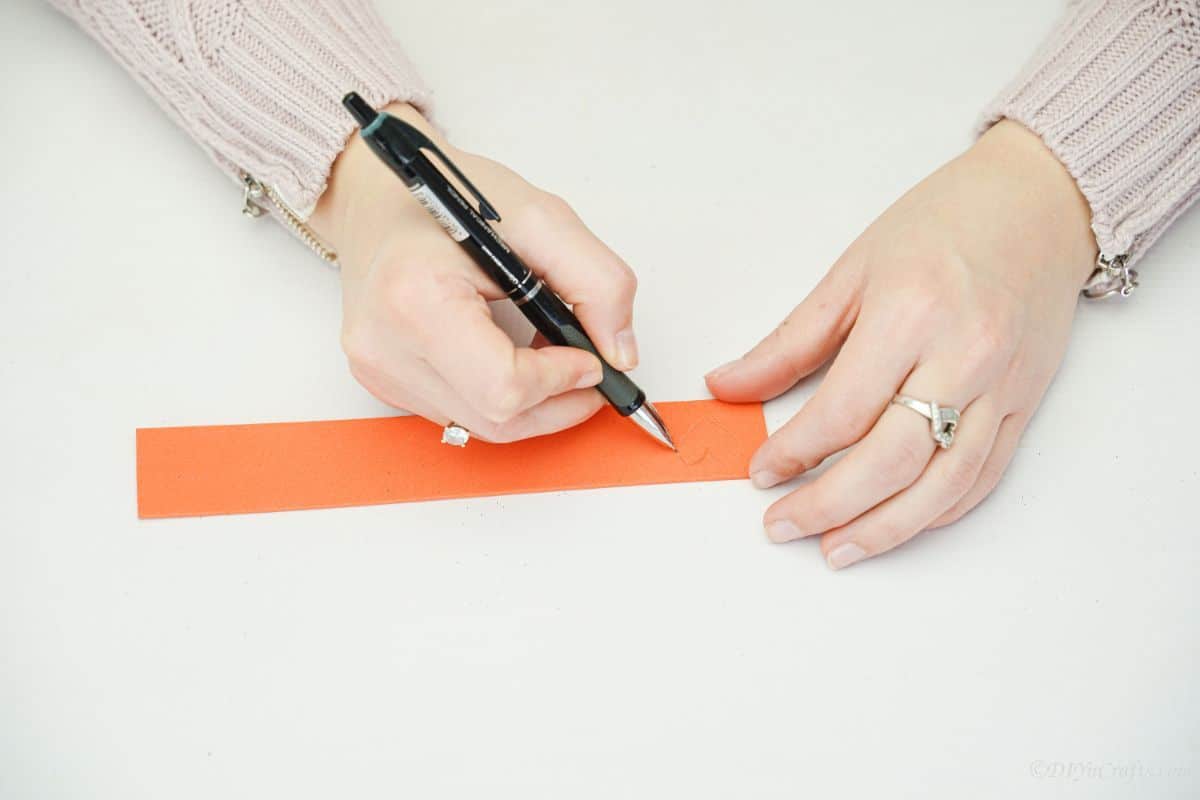
And a simple heart shape from the orange foam paper to create a mouth/beak area.
When the paint has all dried, you can start adding these pieces to the bottle. Start by adding that small bubbly “m” shaped piece of red foam paper to the top of the bottle on the lid.
Then, glue on the wings, one on each side of the bottle.
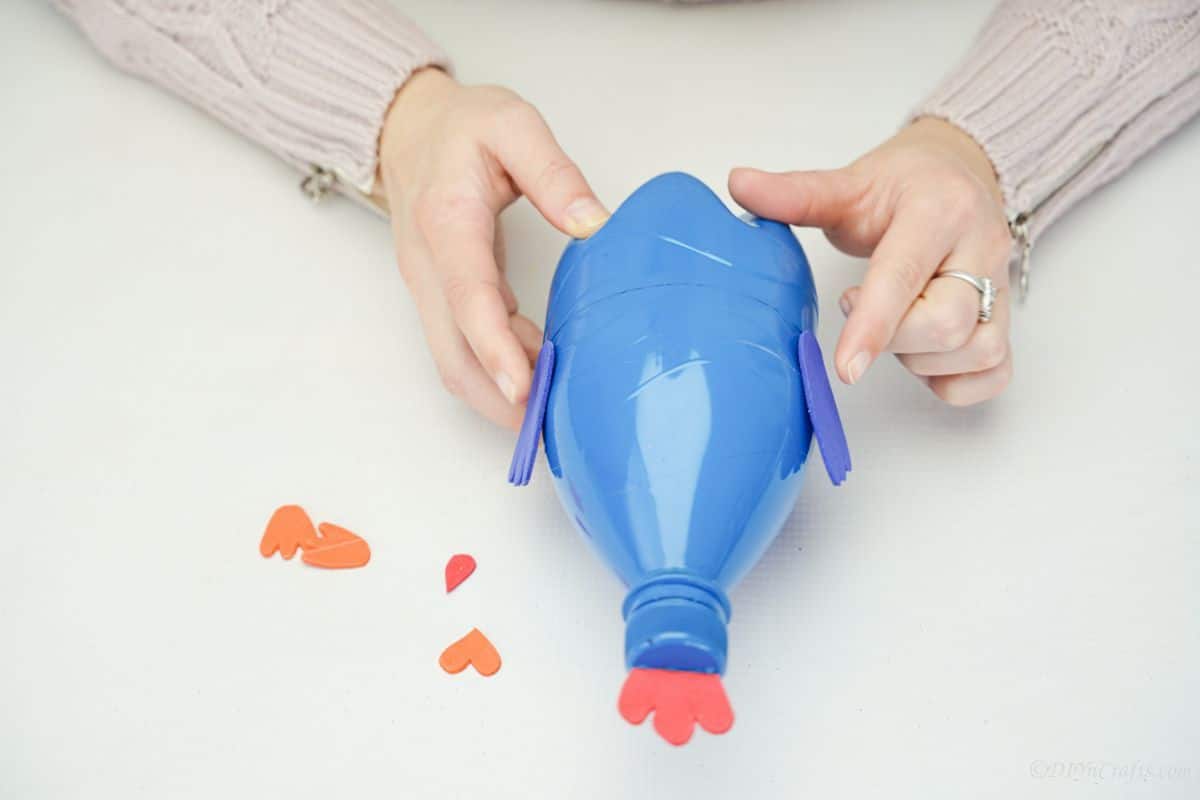
On the top half of the bottle, above the wings but just below the neck, add the googly eyes.
Below this, glue on the small red oval for the mouth, and the orange heart shape, upside down, just above that as the beak.
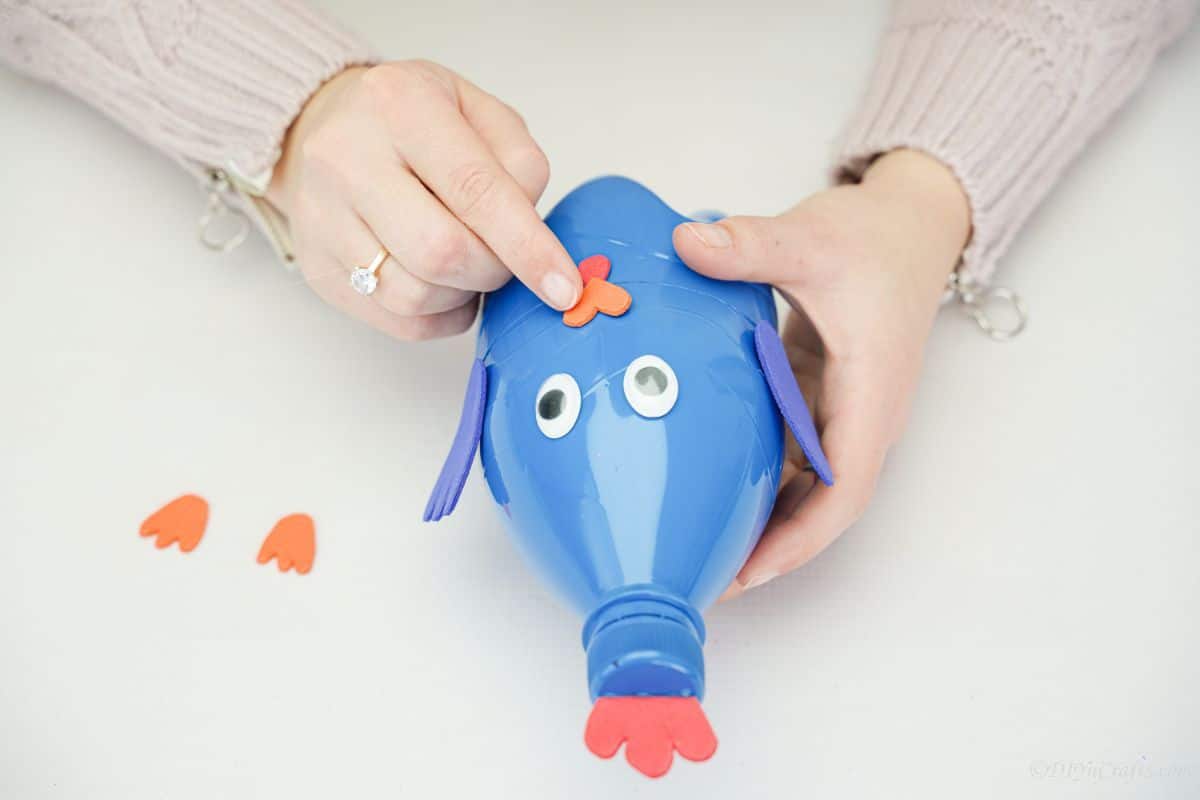
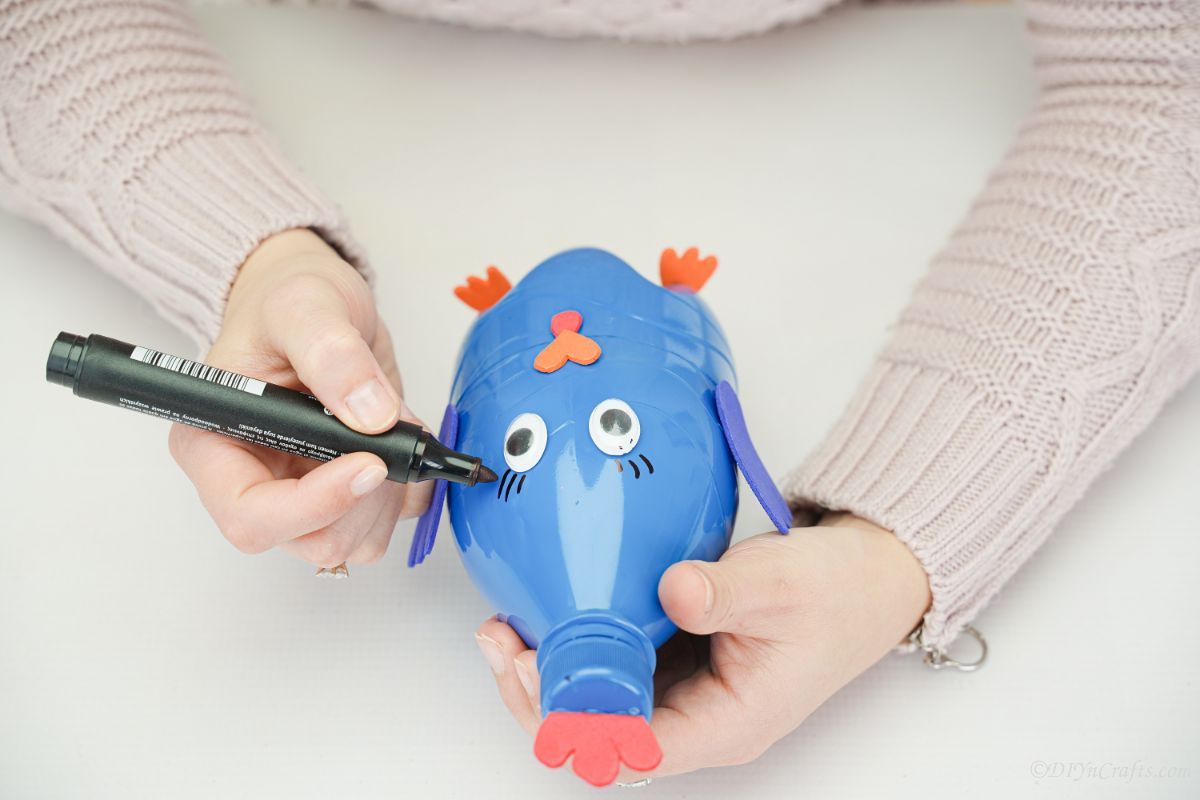
Now, add some more personality by using a black paint pen or marker to add eyelashes above the eyes on the turkey.
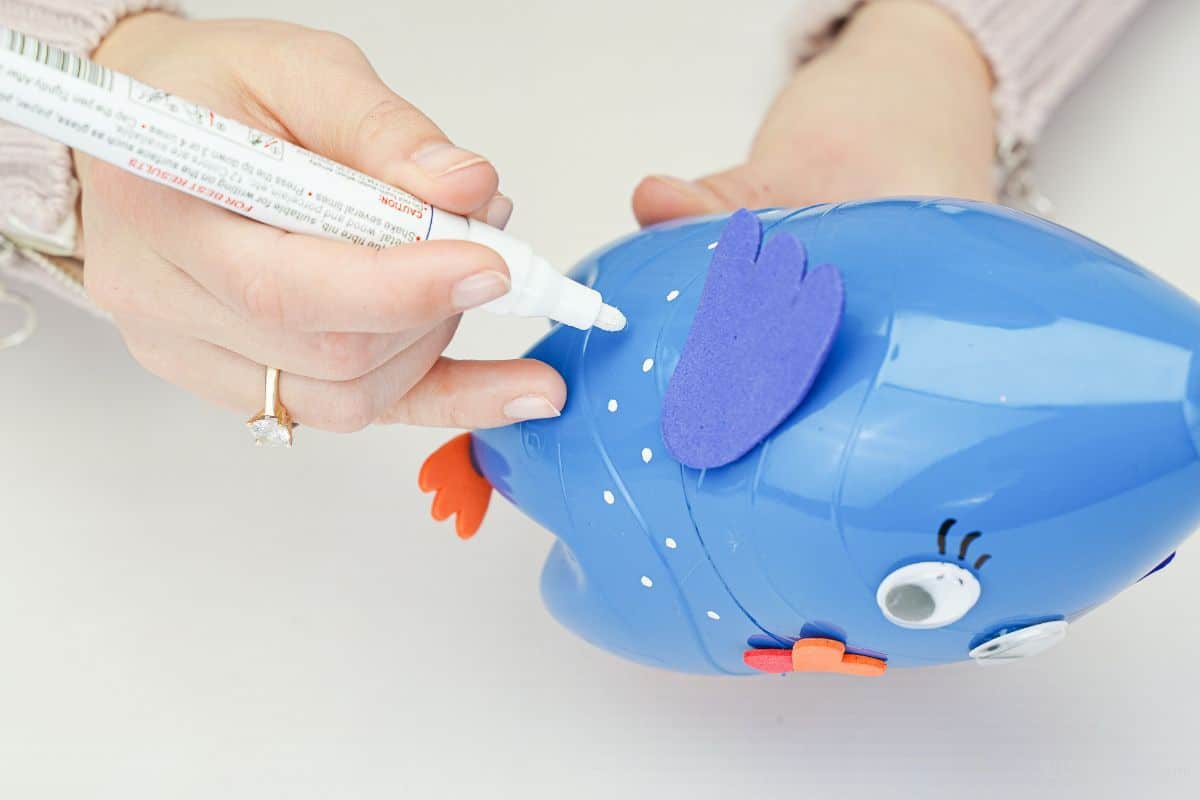
Lastly, add some dots of white paint pen around the middle of the bird to resemble dots on feathers or even clothes on the turkey.
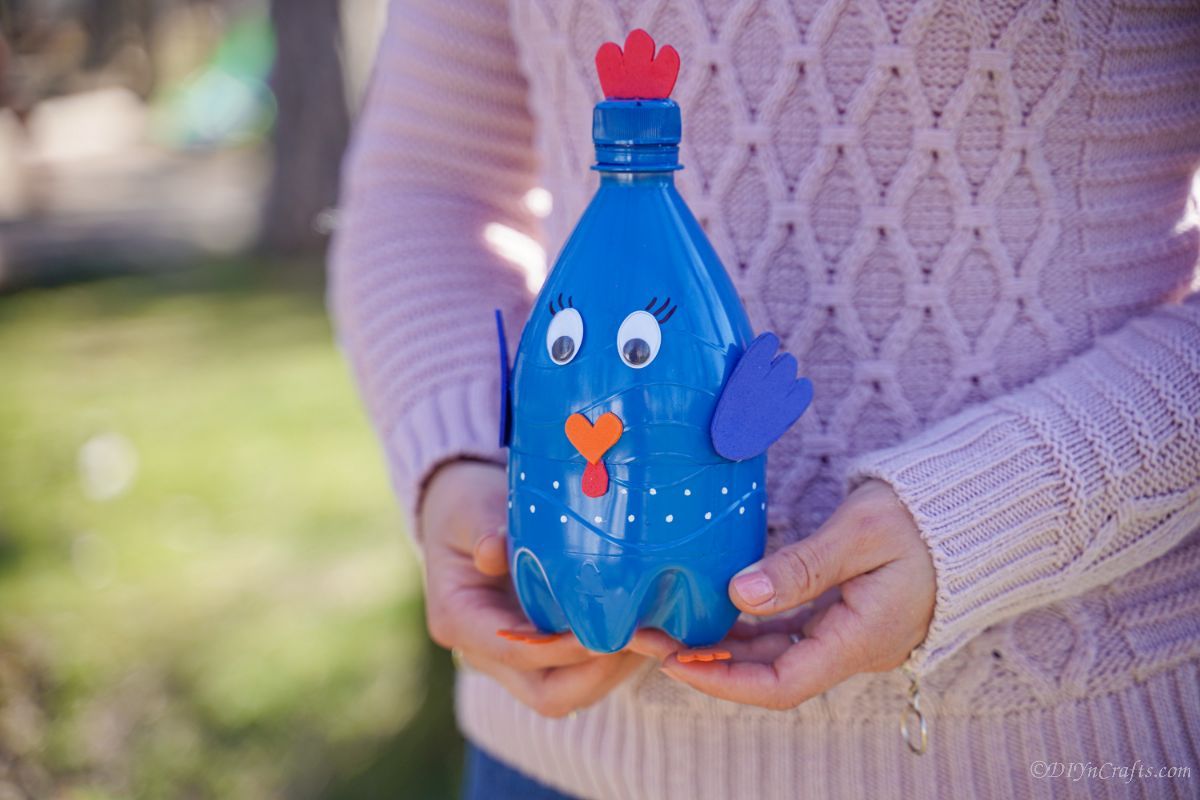
Now it can be used to decorate!
More Easy Thanksgiving Crafts
Thanksgiving and fall decor are some of my favorites to create. Below are some more excellent ideas to add beauty to your home, inside and out, for the holiday season. Make sure that you bookmark the ideas, print out the tutorials, or pin this to a Thanksgiving craft Pinterest board.
Similar Project: How to Make a Fashionable Denim Bag
Yield: 1

Turn an empty plastic bottle into an adorable turkey craft! The perfect Thanksgiving kids craft idea for a rainy day!
Active Time
20 minutes
Additional Time
30 minutes
Total Time
50 minutes
Difficulty
Easy
Estimated Cost
$1
Instructions
- Cut the bottom 1/3 of the bottle off and set it aside.

- Then, cut the top 1/3 of the bottle off and set it aside.
- Discard the middle piece.
- Now, fit the top over the bottom.
- Spray paint it blue all over then let dry.

- While this dries, trace and cut out a red “beard” for the turkey on the red foam paper.

- Then, trace and cut out 2 wing shapes on the blue foam paper.

- Next, trace and cut out a small oval from the red foam paper for the mouth/tongue.
- On the orange foam paper, trace and cut out two shapes for feet.
- Then, trace and cut out a heart shape from the orange paper for the beak.
- When the bottle is dry, begin assembling your turkey. Start by gluing the red “beard” on top of the lid on the top of the bottle.

- Then, on each side, glue a wing.
- On the top half, add the googly eyes.

- Then glue the small red oval toward the bottom half.
- And then the orange heart just above it.
- Use a black marker or paint pen to draw eye lashes above the googly eyes.
- Then use a white paint pen to add dots around the middle of the bird.

Notes
Make this brown or orange for a more traditional turkey. Leave the red piece off the lid and call it any type of bird you prefer!
Recommended Products
As an Amazon Associate and member of other affiliate programs, I earn from qualifying purchases.
Finished Project Gallery
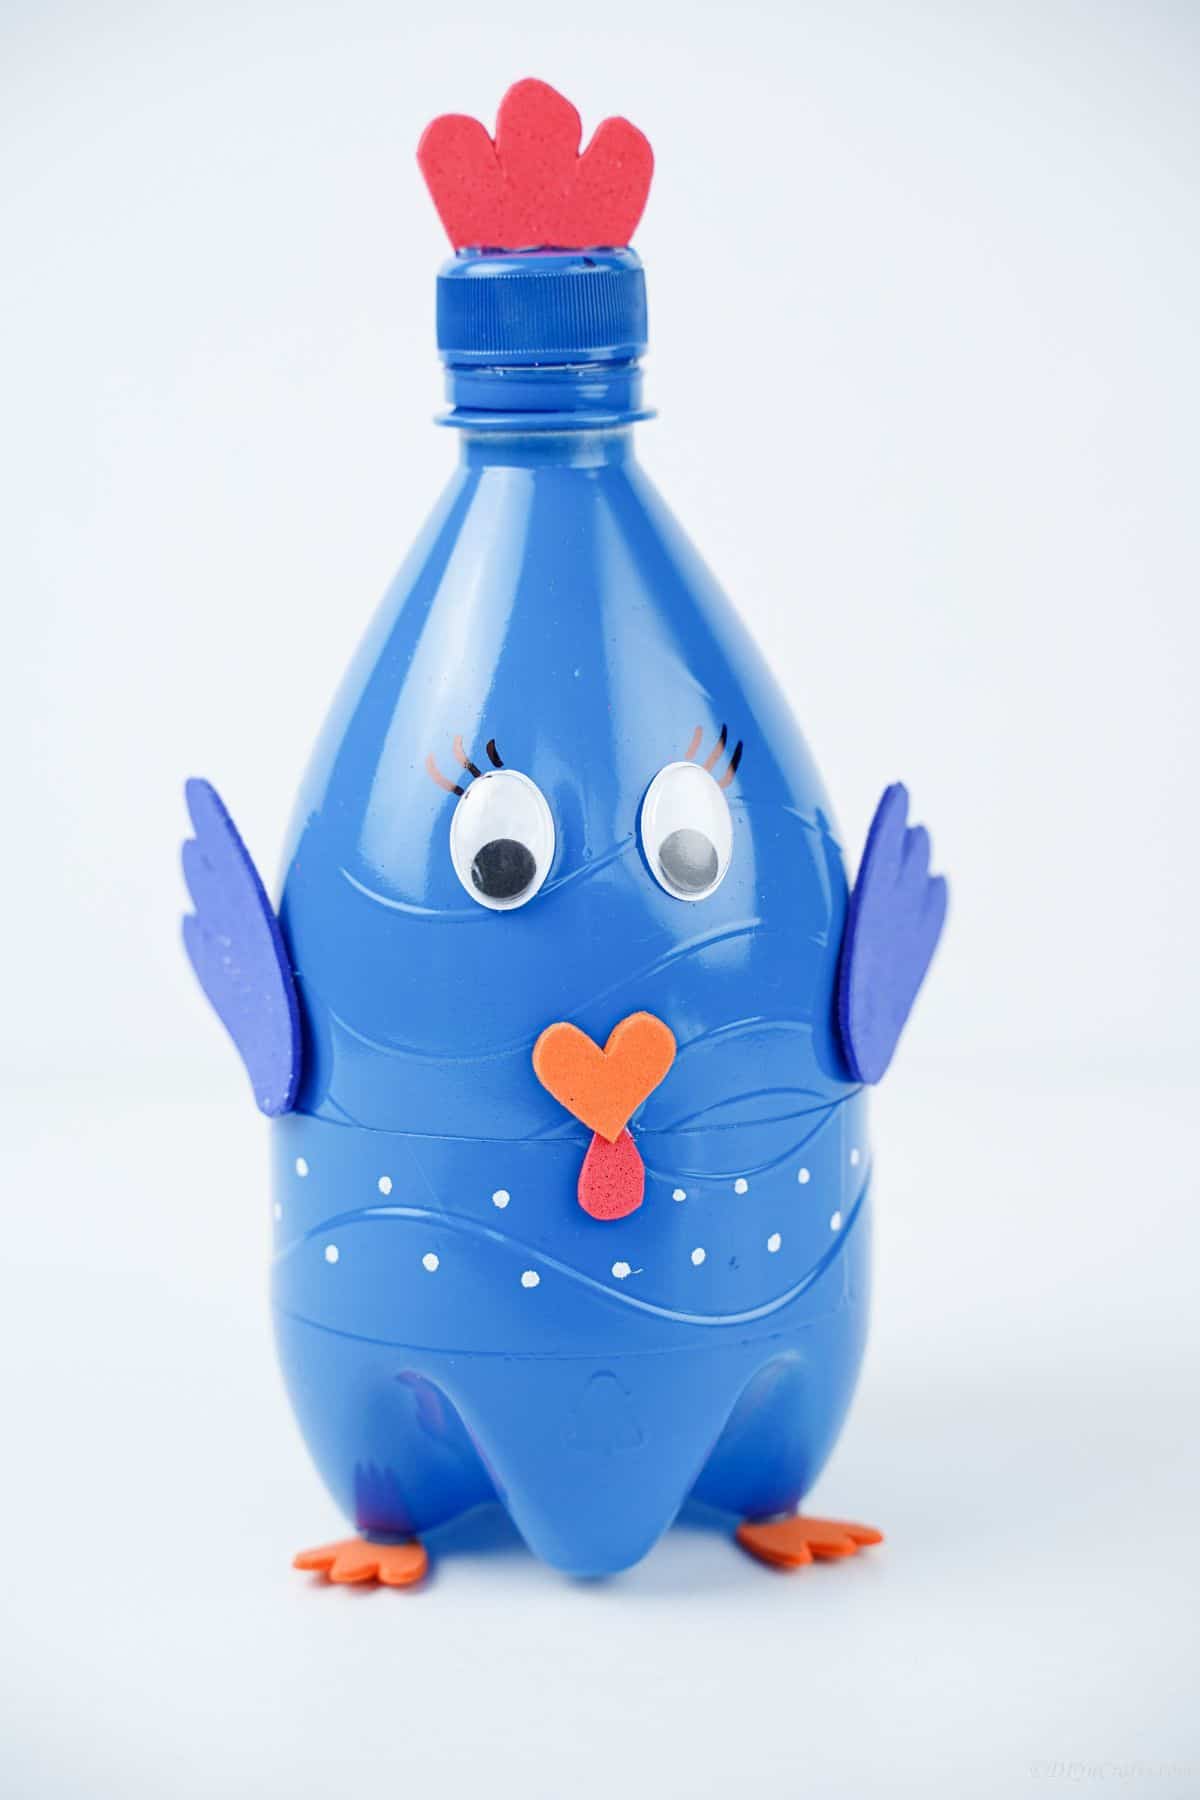
Make a family of turkeys and create an adorable mantle display for Thanksgiving!
